
Tools
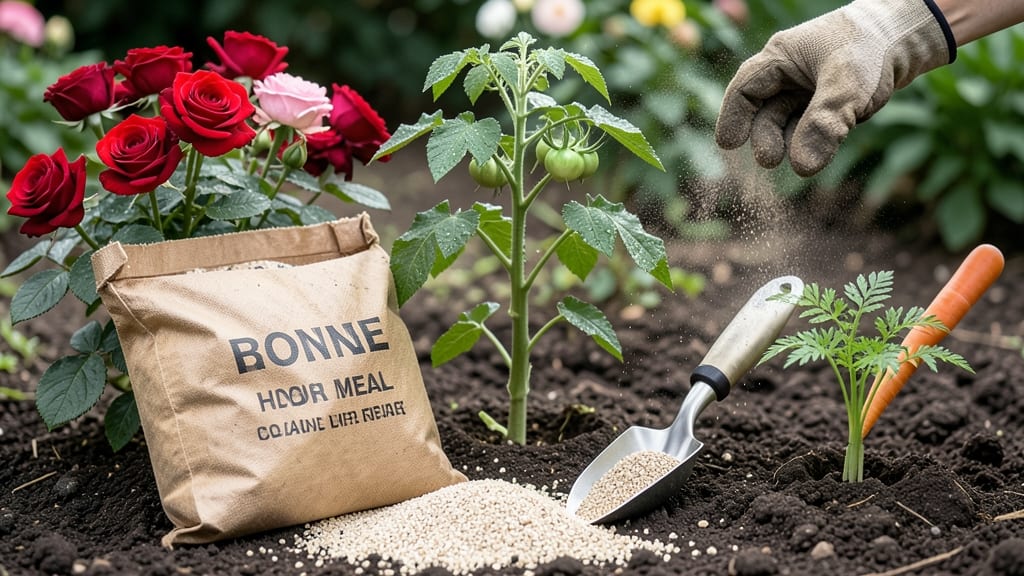
How to use bone meal in the garden is the fastest way to boost phosphorus for stronger roots and bigger blooms—just mix it into the soil at planting time.
Struggling with slow-growing plants or weak flowers? Bone meal—a natural, organic fertilizer—can transform your garden overnight by feeding roots and triggering vibrant blooms. Unlike synthetic fertilizers, it breaks down slowly, giving your plants a steady phosphorus supply without burning them.
This powerhouse works best for phosphorus-loving plants like tomatoes, roses, and peppers, but it’s also great for bulbs and flowering annuals. The key is applying it at the right time—whether you’re planting new seeds, transplanting seedlings, or giving established plants a mid-season boost.
In this guide, I’ll walk you through exactly how to use bone meal, including application rates, timing tips, and how to blend it with other fertilizers for the best results. No guesswork—just faster, healthier growth.
When and how to apply bone meal for maximum phosphorus benefits
Bone meal is my go-to organic fertilizer for phosphorus-hungry plants because it delivers fast results—think stronger roots and showstopper blooms. But timing and application matter just as much as the product itself.
Unlike synthetic fertilizers that release nutrients immediately, bone meal works best when incorporated into soil at the right stage of plant growth. Spring planting is ideal, but mid-season applications can still boost flowering.
For best results, I always apply bone meal 2-3 weeks before planting or when transplanting seedlings. This gives the phosphorus time to integrate into the soil without burning tender roots. If you're working with established plants, a light side-dressing during early bloom can extend flowering.
Just avoid heavy applications in late summer—the plants may produce too many weak flowers before frost.
Now, let's compare how organic bone meal stacks up against synthetic phosphorus sources like superphosphate. The key difference? Organic bone meal releases nutrients slowly over months, while synthetic versions provide an immediate but short-lived boost.
For long-term garden health, I prefer bone meal—it also improves soil structure as it breaks down.
When applying bone meal, I always follow the 1 tablespoon per plant rule for established plants or 1 cup per 10 square feet for garden beds. For container gardening, cut the dose in half since roots have limited space.
Mix it 2-3 inches deep into the soil—never apply it on top where it can burn plant foliage or attract pests like rodents.
One of my favorite techniques is creating a bone meal "tea" for foliar feeding. Simply steep 1/4 cup bone meal in 1 gallon of water overnight, then strain and use it to water plants.
This method provides a gentle phosphorus boost without overloading the soil. I use it on houseplants like orchids and vegetables needing extra energy, like eggplants.
For bulb planting, I mix bone meal directly into the hole at half the recommended rate. This ensures the bulbs get a steady phosphorus supply during their first growing season. Tulips and daffodils, in particular, respond beautifully to this treatment, producing larger, more vibrant blooms the following year.
If you're new to bone meal, start with a small test batch on one section of your garden. Monitor plants for excessive leaf growth (a sign of too much phosphorus) or stunted blooms (a sign of deficiency).
Remember, bone meal is a high-phosphorus, low-nitrogen fertilizer—it won't replace a balanced fertilizer but will complement it perfectly for root and flower development.
Pro tip: Store bone meal in a cool, dry place to prevent clumping. If it does clump, simply break it up with a mortar and pestle or crush it with a rolling pin. Never use expired bone meal—it loses potency over time and may attract mold.
For organic gardeners, bone meal is a game-changer, but it's not a magic bullet. Pair it with compost and compost tea for a well-rounded nutrient approach.
And if you're growing phosphorus-loving plants like roses or tomatoes, consider adding bone meal twice a year—once in early spring and again in mid-summer.
Best plants to use bone meal for (and which ones to avoid)
Bone meal is a phosphorus-rich fertilizer that supercharges root growth and flower production. But not all plants need—or tolerate—its high phosphorus content. Tomatoes, roses, and peppers thrive with it, while others like blueberries or azaleas prefer low-phosphorus soil.
Let’s break down the best matches and risky pairings to avoid over-fertilizing.
When choosing plants for bone meal, prioritize those with high phosphorus needs. Vegetables like carrots, onions, and broccoli benefit from its root-stimulating properties. Flowers such as petunias, marigolds, and hollyhocks also respond dramatically with bigger, brighter blooms.
The key is applying it at planting or early growth stages for maximum impact.
Warning signs of overuse include leaf burn, yellowing foliage, or stunted growth. Too much phosphorus can also lock out other nutrients, like nitrogen or potassium, leaving plants weak despite extra fertilizer.
Always test soil pH first—bone meal works best in slightly acidic to neutral soil (pH 6.0–7.0).
Bone Meal: Pros & Cons for Your Garden
✅ Pros
- Boosts root growth in vegetables
- Enhances flowering in annuals
- Natural & organic source
- Long-lasting phosphorus release
❌ Cons
- Risk of over-fertilizing delicate plants
- Can alter soil pH if overused
- Not ideal for acid-loving plants
- Slow release (takes weeks to activate)
Tip: Mix 1 tbsp per plant into soil at planting for best results. Avoid using near acid-loving plants like blueberries or rhododendrons.
For vegetable gardens, bone meal is a game-changer. Tomatoes and peppers develop stronger root systems, while carrots grow straighter and sweeter. In flower beds, it encourages larger blooms in roses, dahlias, and sunflowers. However, skip it for leafy greens like lettuce or spinach—they prioritize nitrogen over phosphorus.
If you’re unsure whether a plant needs bone meal, check its growth habits. Plants with deep taproots (like asparagus or parsnips) or those producing heavy fruits/flowers (like pumpkins or hydrangeas) are ideal candidates. For others, a balanced fertilizer with equal NPK ratios may work better.
Remember: bone meal is a one-time boost, not a maintenance fertilizer. Use it sparingly—once per growing season is often enough. Pair it with compost or kelp meal to balance nutrients and prevent soil imbalances. With the right plants, your garden will flourish in no time! 🌿