
Picking
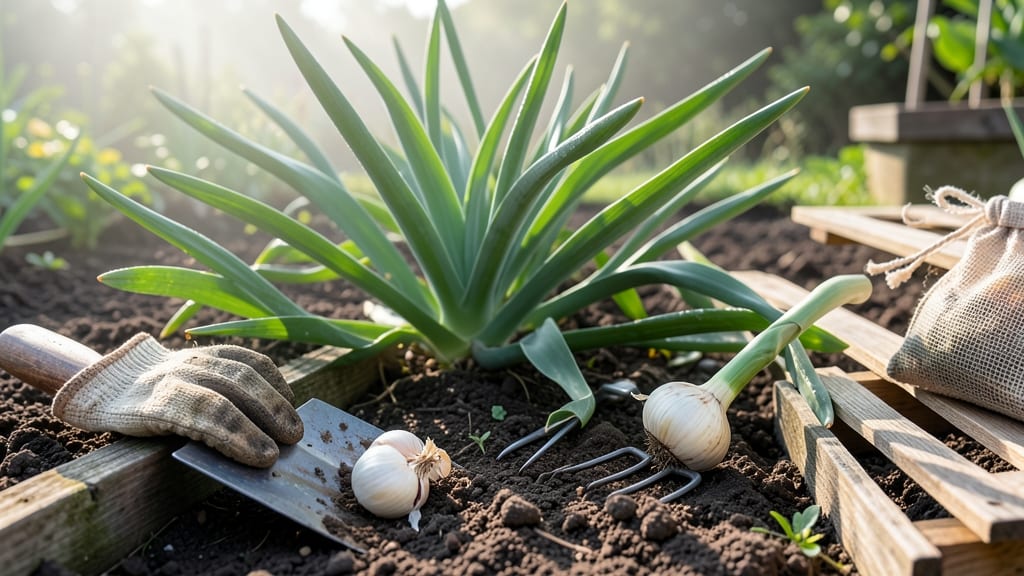
To pick garlic from your garden at the perfect time ensures bold flavor and long storage life 🧄 — timing is everything, and missing the window means wasted effort.
I’ve watched bulbs shrivel in the soil because I waited too long, only to realize they’d been ready weeks earlier.
The difference between a harvest that stores all winter and one that spoils in a month comes down to knowing the exact cues: when the lower leaves turn brown, the bulb feels firm, and the skin starts to dry.
This guide breaks down the visual signals, regional timing variations, and the simple soil check that tells you when your garlic is truly mature. You’ll learn how to avoid common mistakes—like harvesting too early or too late—and how to cure your garlic for maximum shelf life.
Whether you’re growing hardneck or softneck varieties, these steps will help you pull garlic at its peak, ensuring every bulb is plump, flavorful, and ready for braiding or storage.

Key visual and physical signs your garlic is ready for harvesting
Harvesting garlic at the right moment transforms your garden into a treasure trove of flavorful bulbs. But how do you know when those hardneck and softneck varieties are truly ready? The secret lies in combining visual cues with physical tests.
Over the years, I've learned that ignoring these signs can lead to disappointing harvests—either shriveled bulbs or ones that store poorly.
For hardneck garlic, which produces scapes, timing is especially critical. These varieties often mature slightly earlier than softneck types, so their specific signals require extra attention. Whether you're growing Rocky Mountain or Silverskin, the same core principles apply: watch the leaves, check the bulbs, and feel the skin.
These three elements together create the perfect harvest window.
Here are the five most reliable indicators that your garlic is ready for harvesting:
The first sign is when about 50-60% of the lower leaves turn straw-colored and crisp. For hardneck garlic, this often happens in late June or early July, while softneck varieties may linger until July or August.
Gently brush away soil to check if the bulb has expanded to fill the space where the cloves formed. Press lightly—if the bulb feels firm and well-rounded, it’s ready. Underripe bulbs will feel loose or hollow inside.
The outer skin should become dry and papery, not soft or green. For hardneck garlic, this papery layer forms earlier, often by mid-summer, while softneck varieties may take until late summer.
While lower leaves brown, the top 3-4 leaves should remain green and upright. If all leaves turn brown, you’ve waited too long. This balance ensures the bulb is fully developed but not overripe.
Grasp the stem near the bulb and bend it gently. If it snaps cleanly (not breaks roughly), the bulb is ready. This test works best in the morning when stems are crisp. Hardneck garlic often passes this test earlier than softneck types.
One common mistake I see is waiting until all leaves turn brown. By then, the bulbs may have split or lost flavor. For hardneck garlic, harvest when about 60% of leaves are brown, while softneck varieties can tolerate slightly more browning before peaking.
Always prioritize the bulb’s firmness over leaf color.
Regional differences also play a role. In cooler climates (USDA Zones 3-5), garlic often matures earlier, sometimes by late June. In warmer zones (Zones 7-9), the harvest window stretches into August. Pay attention to your local frost dates—garlic needs time to mature before cold weather sets in.
After confirming maturity, harvest on a dry, sunny day to allow bulbs to cure properly. Use a fork to loosen soil around the base, then gently lift the bulb.
Shake off excess dirt and lay the garlic in a shady, well-ventilated area for 2-3 weeks to dry. Proper curing prevents rot and extends storage life.
Remember, the goal is flavorful, storable garlic. By mastering these five signs, you’ll never second-guess your harvest timing again. Happy digging! 🧄
How to test garlic maturity: the 3-Month rule and soil check method
Garlic typically needs 9 to 10 months from planting to harvest, but the critical 3-month growth window before maturity is where soil checks and leaf signals become your best tools.
Most gardeners plant in fall (October-November) for a summer harvest, but timing shifts 2-3 weeks earlier in warmer climates like USDA Zones 8-10 and 2-3 weeks later in colder zones like Zones 3-5.
The 3-month rule refers to the final growth stage where bulbs rapidly develop. Count 90 days from when 50% of lower leaves turn brown—this marks the start of your harvest window.
For example, if leaves brown in mid-June, harvest by mid-September in most regions. Miss this window, and you risk overmature garlic that splits or rots.
| Climate Zone | Planting Time | Harvest Window | Soil Check Method |
|---|---|---|---|
| Zones 3-5 (Cold) | Oct 15-Nov 1 | July 15-Aug 15 | Gently dig when 3 lower leaves are brown |
| Zones 6-7 (Temperate) | Oct 1-Nov 15 | June 20-July 20 | Harvest when 50% leaves turn brown |
| Zones 8-10 (Warm) | Nov 1-Dec 15 | May 15-June 15 | Check soil when 2 leaves remain green |
To confirm maturity, perform a soil check by gently digging near the plant’s base. Look for well-formed bulbs with papery skins—these are ready. If bulbs are still loose or skins feel soft, wait 1-2 weeks.
Hardneck varieties (like Rocky Mountain) mature slightly earlier than softnecks (like Silverskin), so adjust your timeline by 10-14 days for hardnecks.
For early harvests, prioritize hardnecks in Zones 8-10—they tolerate warmer soils better. In Zones 3-5, wait until after the last frost (typically April 15) to avoid soil-heaving damage. Pro tip: Mark planting dates on your calendar to track the 3-month rule accurately.
Overlooking soil checks can lead to missed harvests or poor storage quality. For example, garlic harvested too early may sprout prematurely in storage, while overripe bulbs split or rot. Always cure harvested garlic in a dry, shaded area for 2-3 weeks to extend shelf life.
Remember, climate zone and soil conditions are your biggest variables. In dry climates, bulbs mature faster; in wet regions, they may take longer. Adjust your 3-month rule by 1-2 weeks based on local weather patterns.