
Tools
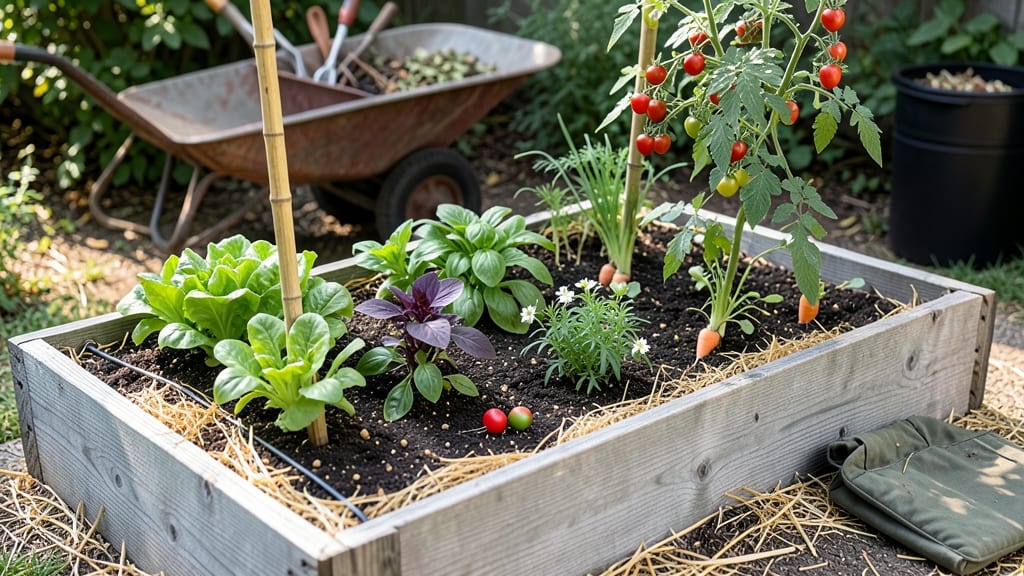
Creative outdoor raised garden bed ideas can turn even a tiny yard into a thriving, space-efficient growing paradise 🌱—no matter if you’re working with a balcony or a backyard.
Small yards don’t mean small harvests—with the right design, you can maximize every square foot while making your garden both functional and stunning. Whether you’re dreaming of tiered beds, corner boxes, or vertical solutions, there’s a layout that fits your space and your style.
From cedar and stone to metal and composite lumber, the materials you choose can transform your bed from simple to showstopping. We’ll break down the best options for durability, drainage, and aesthetics so you can pick what works for your USDA Zone 6 climate and gardening goals.
Ready to discover 10 space-saving layouts that boost productivity without sacrificing beauty? You’ll learn how to calculate dimensions, layer plants for maximum yield, and even add a few pro tips to keep your garden thriving all season long.
10 Space-saving raised garden bed layouts for urban yards
Small yards don’t mean small harvests—with the right raised garden bed designs, you can transform tight spaces into productive growing areas. Whether you have a narrow balcony, a corner nook, or just a patch of sunlight, these layouts maximize every inch while keeping maintenance simple.
I’ve tested these designs in my own urban garden, and they’ve doubled my yield without expanding my footprint.
Key to success is vertical space utilization and smart plant spacing. For example, a 4' x 2' bed can yield as much as a 4' x 4' in-ground plot when layered correctly.
Below, I’ll walk through my top 10 layouts, including tiered systems, corner boxes, and wall-mounted solutions—each with dimensions and plant recommendations tailored for small spaces.
Why raised beds? They improve drainage, reduce weeds, and let you control soil quality—critical in urban areas where native soil is often compacted. Plus, they’re accessible for people with mobility challenges. Let’s dive into the designs that work best for urban gardening.
| Design | Dimensions | Best For | Plants | Sun Needs | ||||||||||||||||
|---|---|---|---|---|---|---|---|---|---|---|---|---|---|---|---|---|---|---|---|---|
| Tiered Box | 3' W x 2' D x 3 tiers | Balconies, patios | Herbs, lettuce, strawberries | 6+ hours | ||||||||||||||||
| Corner Box | 2' x 2' x 2' deep | Fence corners, alleyways | Peppers, tomatoes, bush beans | 8+ hours | ||||||||||||||||
| Vertical Pallet | 4' H x 2' W | Sunny walls, fences | Green beans, cucumbers, nasturtiums | 6+ hours | ||||||||||||||||
| Window Box | 3' L x 1' D x 1' deep | South-facing windows | Basil, thyme, cherry tomatoes | 4-6 hours | ||||||||||||||||
| Spiral Bed | 2' diameter x 1' deep | Small yards, fairy gardens | Carrots, radishes, microgreens | 6+ hours | ||||||||||||||||
| Hanging Pocket | 6 pockets x 6" deep | Porches, decks | Pepper plants, chives, marigolds | 6+ hours | ||||||||||||||||
| Keyhole Bed | 3' x 3' with central compost zone | Small gardens, permaculture | Kale, Swiss chard, onions | 6+ hours | ||||||||||||||||
| Stacked Crates | 2' x 2' x 3 crates | DIY budgets, repurposed wood | Lettuce, spinach, radishes | 4-6 hours
How to choose the best materials and dimensions for your raised bedWhen building your outdoor raised garden bed, the materials and dimensions you choose directly impact your plants' health and your gardening success. I’ve learned that cedar lumber is my top pick for natural resistance to rot, but composite lumber offers low-maintenance durability. Both have pros and cons, so let’s break it down to help you decide what works best for your space and budget. For dimensions, depth matters most—aim for at least 10-12 inches deep to accommodate root systems of most vegetables. Shallower beds (6-8 inches) work for shallow-rooted plants like lettuce or herbs, but deeper beds (18+ inches) are ideal for tomatoes, peppers, or carrots. I always double-check depth before building to avoid stunted growth later.
Calculating the right bed dimensions starts with your plant spacing needs. For example, a 4’x8’ bed is a classic size, but I’ve found that 3’x6’ beds work perfectly for small yards. Use the square-foot gardening method to map out plant placements—this ensures you maximize space without overcrowding. I always sketch a rough layout before buying materials to avoid waste. For DIY vs. pre-built, I recommend pre-built beds if you’re short on time or tools. They often come with built-in drainage and are easier to assemble. However, if you love customizing, DIY cedar beds let you tailor the size, shape, and even add features like trellises or built-in irrigation. My latest project was a 2’x6’ cedar bed with a built-in drip system—it saved me time watering and looked great! Don’t forget to consider bed height for accessibility. A 24-30 inch height makes gardening easier on your back, especially if you have mobility challenges. I raised my beds to 28 inches last year, and the difference in comfort was noticeable. Pair this with 6-inch pathways between beds for easy access and weed control. Finally, think about drainage and soil quality. Raised beds should have holes in the bottom for excess water, and I always add a 2-inch layer of gravel or landscape fabric before filling with soil. Mixing equal parts topsoil, compost, and perlite gives my plants the perfect growing medium. With the right materials and dimensions, your raised bed will be a productive and beautiful addition to your outdoor space. |