
Fertilization
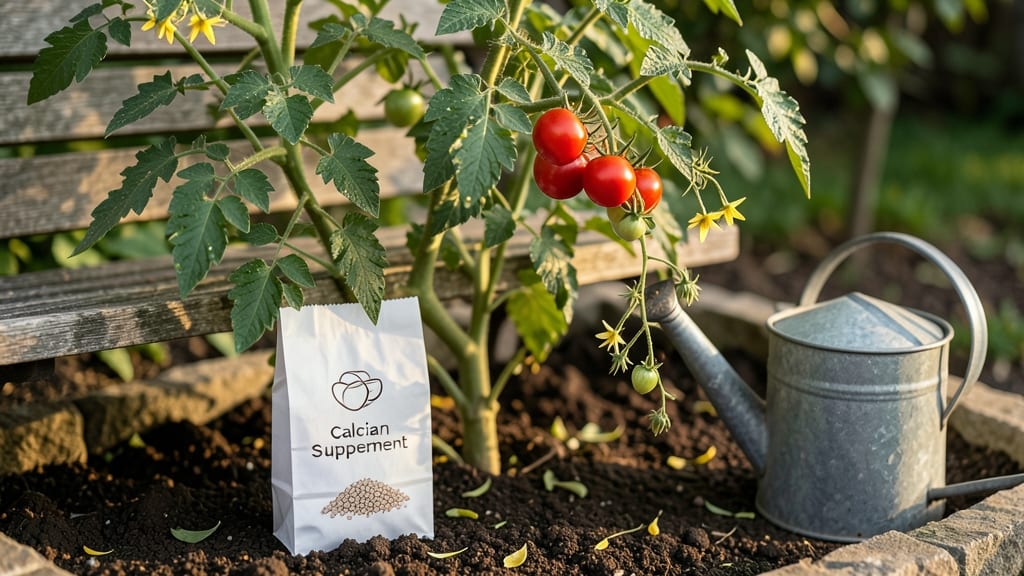
Garden tomatoes need calcium to grow strong and avoid that dreaded blossom end rot—a problem that ruins fruit before it even ripens.
If your 🍅 plants are developing those unsightly black, leathery spots at the blossom end, calcium deficiency could be the culprit—and the fix might be simpler (and faster) than you think.
Calcium isn’t just about preventing rot; it’s the foundation for sturdy cell walls, healthy roots, and even sweetness in your tomatoes. Without enough, your plants struggle to transport nutrients, leading to weak growth and wasted effort.
In this guide, I’ll show you how to diagnose a calcium shortage, the fastest ways to add it back (including kitchen scraps and soil tweaks), and how to keep your tomatoes thriving all season long.
Why calcium deficiency causes blossom end rot in tomatoes
If your garden tomatoes are developing those unsightly black, leathery spots at the blossom end, calcium deficiency could be the culprit—and the fix might be simpler (and faster) than you think. Calcium is a critical nutrient for tomato plants, acting as a structural component in cell walls and enabling proper fruit development.
When your plants lack enough calcium, they can't maintain strong cell integrity, leading to the classic blossom end rot symptoms.
But here's the kicker: even if your soil has plenty of calcium, your tomatoes might still suffer from deficiency. This happens because calcium moves slowly through the plant, and when growth conditions change—like rapid expansion after rain or inconsistent watering—the plant can't deliver enough calcium to developing fruit.
This mismatch between supply and demand is what triggers those telltale black spots.
Calcium deficiency doesn't just cause blossom end rot—it also leads to other subtle signs like stunted growth, yellowing leaves, and weak stems. Many gardeners overlook these early warnings, assuming their tomatoes are just struggling with heat or water stress. But if you're seeing these symptoms alongside the classic rot, calcium is likely the missing piece in your plant care routine.
Common gardening mistakes like overwatering, inconsistent feeding, or poor soil drainage can worsen calcium deficiency. When soil stays too wet, roots struggle to absorb nutrients efficiently, even if calcium is present.
Similarly, sudden spikes in nitrogen fertilizer can promote rapid foliage growth, starving the fruit of the calcium it needs to develop properly.
| Calcium's Role | Deficiency Symptom | Root Cause | Fix |
|---|---|---|---|
| Cell wall strength | Black, leathery spots | Slow calcium transport | Foliar spray (calcium nitrate) |
| Fruit development | Cracked or misshapen fruit | Rapid growth after rain | Crushed eggshells (soil) |
| Root absorption | Yellowing leaves | Overwatering or poor drainage | Gypsum (soil amendment) |
| Nutrient balance | Stunted growth | Excess nitrogen | Balanced fertilizer (5-10-10) |
One of the most surprising aspects of calcium deficiency is how quickly it can appear. Even if your soil tests show adequate calcium levels, environmental stress like extreme heat or sudden drought can disrupt the plant's ability to absorb it.
This is why many gardeners see blossom end rot flare up after a particularly hot week or a heavy downpour—conditions that create an imbalance between what the plant needs and what it can take up.
Beyond the classic black spots, watch for early signs like small, sunken areas near the blossom end or a slight yellowing around the edges of leaves. These are your plant's way of signaling calcium stress before the rot becomes severe.
Catching these early can mean the difference between saving your tomatoes and losing them entirely.
Another critical factor is the pH level of your soil. Tomatoes thrive in slightly acidic to neutral soil (pH 6.0–7.0), where calcium is most available. If your soil is too acidic (pH below 6.0), calcium becomes locked away and unavailable to your plants.
Testing your soil's pH is a simple but essential step in diagnosing and preventing calcium deficiency.
Don’t assume that organic matter alone will fix calcium issues. While compost and manure improve soil structure and provide some nutrients, they often lack sufficient calcium to prevent blossom end rot.
That’s why targeted amendments—like crushed eggshells, gypsum, or lime—are so effective. These sources deliver calcium directly where your tomatoes need it most.
If you're growing tomatoes in containers, calcium deficiency is even more likely because potting mixes can leach nutrients quickly. Container-grown plants also dry out faster, which exacerbates the problem.
In these cases, a foliar calcium spray applied every 7–10 days can provide a rapid fix while you work on improving your soil's calcium content long-term.
Remember, calcium isn't just about fixing rot—it's about preventing stress and ensuring your tomatoes grow strong from the start. By understanding how calcium works in your plants and what triggers its deficiency, you can take proactive steps to keep your garden thriving all season long.
The key is consistency: balanced fertilization, proper watering, and regular soil checks.
7-Day calcium fix: best methods to revive your tomatoes fast
Your tomatoes are showing signs of blossom end rot—those dark, sunken spots at the blossom end—but don’t panic. A 7-day calcium fix can turn things around quickly. Calcium is essential for cell wall strength, and when your plants lack it, they struggle to transport water and nutrients efficiently.
The good news? You can boost calcium levels fast using simple, accessible methods.
Start by diagnosing the issue: blossom end rot often appears when calcium isn’t available at the fruit’s growing tip, usually due to uneven watering or poor soil conditions. The fix involves a mix of foliar sprays, soil amendments, and consistent care.
Let’s dive into the most effective 7-day revival plan to get your tomatoes back on track.
🌱 Your 7-Day Calcium Revival Plan
- Day 1-2: Foliar Spray – Mix 1 tbsp calcium nitrate or crushed eggshell tea (steep 1 cup crushed shells in 1 gallon water for 24 hours) with water. Spray leaves early morning to avoid evaporation. Repeat daily.
- Day 3: Soil Amendment – Work 1 tbsp gypsum or crushed eggshells into the top 2 inches of soil around each plant. Gypsum dissolves quickly, releasing calcium.
- Day 4-5: Organic Boost – Apply wood ash (1 tbsp per plant) or bone meal (½ tbsp) to the soil. Water thoroughly to activate nutrients.
- Day 6: Mulch & Water – Add straw or grass clippings to retain moisture and prevent calcium leaching. Water deeply at soil level (not overhead) to encourage root uptake.
- Day 7: Monitor & Adjust – Check for new growth. If spots persist, repeat foliar spray and add 1 tbsp lime (for alkaline soils) or Epsom salt (for magnesium balance).
For container-grown tomatoes, reduce watering frequency slightly to prevent calcium leaching. If your soil is sandy or acidic, gypsum or lime will work faster than eggshells. Always water consistently—fluctuations stress plants and worsen calcium uptake issues.
Long-term, maintain calcium levels by amending soil annually with compost or aged manure. Pair tomatoes with basil or marigolds—these companions improve nutrient availability. Avoid over-fertilizing with nitrogen, as it can dilute calcium absorption.
With this 7-day plan, you’ll see healthier leaves and fewer rot spots within a week. Keep an eye on your plants, and soon you’ll be harvesting plump, calcium-rich tomatoes instead of dealing with blight. Happy gardening!