
Tools
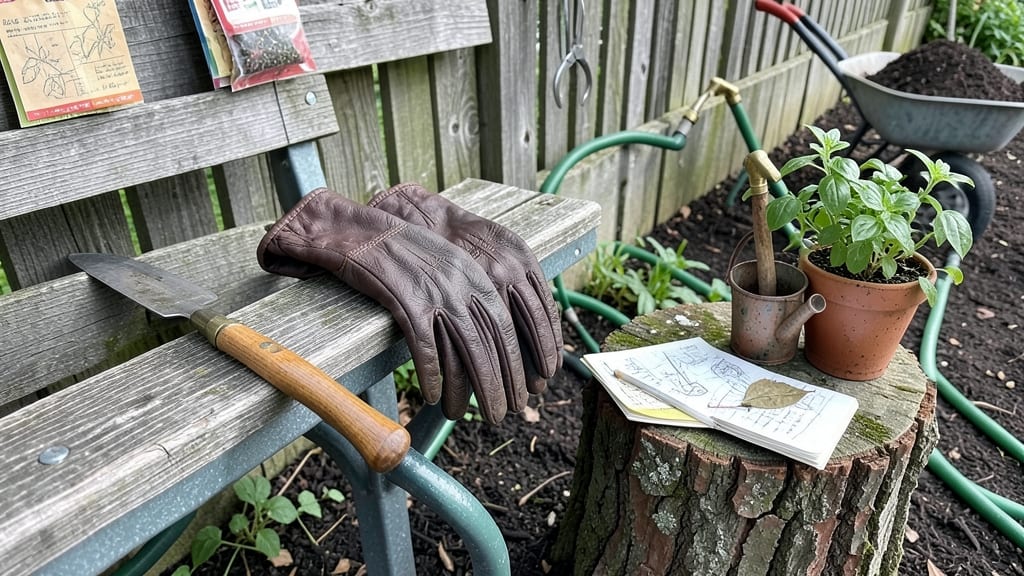
Following the right steps for gardening can turn even a small space into a thriving oasis—whether you’re growing herbs on a windowsill or veggies in a backyard plot.
Picture this: you’ve picked your spot, tested the soil, and chosen plants that match your climate. But without the proper techniques, all that effort can go to waste. The key is knowing how to prep soil, when to water, and how much sunlight your greens actually need.
This guide breaks down the basics—from selecting the right plants for your zone to maintaining them through the seasons—so you can skip the guesswork and focus on what matters most: watching your garden grow.
Whether you’re a complete beginner or just need a refresher, these simple, actionable steps will set you up for success, no matter what you’re planting. Let’s get started!
10 Essential steps for gardening beginners: from planning to planting
Starting a garden can feel overwhelming, but breaking it down into clear steps for gardening makes it manageable. Whether you're dreaming of a vegetable patch or a flower bed, these foundational steps will give your plants the best chance to thrive.
I’ve learned that skipping even one step can lead to poor growth or wasted effort—so let’s start with the basics to ensure your garden grows strong and healthy from day one.
Before you dig your first hole, take time to plan your garden layout. Sketch a simple design on paper, noting where sunlight hits your yard and where you’ll place each plant. Group plants with similar water needs and sunlight requirements together to simplify care.
For example, tomatoes and peppers love full sun, while lettuce and spinach prefer partial shade. This step alone will save you headaches later!
✨ 10 Essential Steps for Gardening Beginners
- Step 1: Choose the right location with 6+ hours of sunlight (adjust for shade-loving plants).
- Step 2: Test your soil (pH 6.0–7.0 is ideal for most plants).
- Step 3: Improve soil with compost or organic matter for better drainage.
- Step 4: Design your layout—map out plant spacing and groupings.
- Step 5: Select plants suited to your climate and last frost date.
- Step 6: Prepare planting beds (loosen soil, remove weeds).
- Step 7: Plant seeds or seedlings at the correct depth (follow seed packet guidelines).
- Step 8: Water deeply after planting to settle soil (1–2 inches per week).
- Step 9: Mulch around plants to retain moisture and suppress weeds.
- Step 10: Monitor and maintain—check for pests, adjust watering, and prune as needed.
Pro Tip: Keep a gardening journal to track progress and note what works best for your space!
Once you’ve picked your garden location, the next critical step is soil testing. Healthy soil is the backbone of a thriving garden. You can buy a soil test kit for under $20 or send a sample to your local cooperative extension service for a detailed report.
Aim for a pH between 6.0 and 7.0—most vegetables and flowers prefer this range. If your soil is too acidic or alkaline, you can amend it with lime (to raise pH) or sulfur (to lower pH).
Don’t skip this step—poor soil can stunt plant growth, even with the best care.
After testing, it’s time to improve your soil. Even fertile soil can benefit from a boost of organic matter. Work in compost or well-rotted manure to enhance drainage and nutrient content. For heavy clay soil, mix in sand or perlite to loosen it up.
If your soil is sandy, add peat moss or coconut coir to retain moisture. A quick way to test your soil’s readiness is the squeeze test: grab a handful—if it crumbles easily, it’s ready to plant!
Now that your soil is prepped, it’s time to select your plants. Choose varieties that match your climate zone and growing season. For beginners, easy-to-grow plants like basil, marigolds, or radishes are great starter choices.
Check the seed packet or plant tag for details on sunlight, water needs, and maturity time. Pro tip: start seeds indoors 6–8 weeks before the last frost for a head start on the growing season.
With your planting materials ready, it’s time to prepare your planting beds. Remove weeds, rocks, and debris to create a clean workspace. Use a garden fork to loosen the soil to a depth of 12–18 inches, especially if you’re planting deep-rooted vegetables like carrots or potatoes.
For raised beds, ensure they’re at least 6 inches deep to accommodate root growth. If you’re planting in containers, choose pots with drainage holes to prevent root rot.
When it’s time to plant your seeds or seedlings, follow the depth guidelines on the packet or tag. A general rule is to plant seeds 2–3 times as deep as their diameter. For example, tomato seeds (about 1/4 inch wide) should be planted 1/2 inch deep.
Seedlings can be planted slightly deeper than their current soil level to encourage stability. Space plants according to their mature size—crowding leads to competition for nutrients and sunlight, which weakens growth.
After planting, water deeply to help settle the soil around roots. The first watering is crucial—it washes away air pockets and encourages roots to spread. Aim for 1–2 inches of water per week, delivered either through rainfall or irrigation. Watering in the early morning reduces evaporation and fungal diseases.
Avoid overhead watering in the evening, as damp leaves can attract pests like slugs and snails. A drip irrigation system or soaker hose is a beginner-friendly way to deliver water efficiently.
To keep your garden low-maintenance, apply a 2–3 inch layer of mulch around your plants. Mulch retains moisture, suppresses weeds, and regulates soil temperature. Organic mulches like straw, wood chips, or shredded leaves also break down over time, adding nutrients
Watering and maintenance schedule for healthy garden growth
A consistent watering schedule and regular maintenance are the backbone of a thriving garden. Without proper care, even the hardiest plants can struggle, leading to stunted growth or disease.
My garden flourishes because I treat watering like a daily ritual—observing soil moisture, adjusting for weather, and never skipping the basics like mulching or pruning. Let’s break down how to create a routine that keeps your plants happy and healthy year-round.
First, understand that overwatering is just as harmful as underwatering. Both can lead to root rot or wilting, respectively. I always check the top inch of soil before watering—if it’s dry, it’s time.
For most plants, a deep soak once or twice a week is ideal, especially during hot summer months. Early morning is the best time to water, as it reduces evaporation and fungal risks. Adjust your schedule based on rainfall and seasonal changes, like watering less in cooler months.
| Task | Frequency | Best Time | Signs of Success |
|---|---|---|---|
| Watering | 1-2x per week (deep soak) | Early morning (6-9 AM) | Soil moist 1-2 inches down |
| Mulching | Every 3-6 months | Spring/Fall | Weed-free, moist soil |
| Pruning | Weekly (dead/overgrown) | Morning (dry leaves) | Healthy new growth |
| Pest Control | Bi-weekly (inspect) | Weekend afternoons | No visible pests |
| Fertilizing | Every 4-6 weeks | Early spring/summer | Vibrant foliage |
Mulching is a game-changer for water retention and weed suppression. I use organic mulch like shredded bark or straw, applying a 2-3 inch layer around plants (but not touching stems). This keeps soil cool, reduces water evaporation, and adds nutrients as it breaks down.
Replenish mulch every few months, especially after heavy rains or when it decomposes. For container gardens, use mulch sparingly to avoid over-saturating the soil.
Weekly maintenance tasks like pruning and pest control keep your garden in top shape. I prune dead or overgrown branches regularly to encourage airflow and prevent disease. For pests, I inspect plants weekly—look for chewed leaves, sticky residue (aphids), or holes in foliage.
Neem oil or insecticidal soap works wonders for most issues. If pests persist, consider introducing beneficial insects like ladybugs or lacewings. Prevention is key: healthy plants resist pests better!
Don’t forget to rotate crops annually if growing vegetables to prevent soil depletion and disease buildup. I also keep a garden journal to track what works—like which plants thrive with my watering schedule or which mulch lasts longest.
Adjust your routine seasonally: in winter, reduce watering and pruning, while spring is prime time for fertilizing and mulching. With consistency, your garden will reward you with lush growth and bountiful harvests.
Remember, every garden is unique. Pay attention to your plants’ visual cues—yellowing leaves might mean overwatering, while crispy edges could signal underwatering. Tweak your schedule as needed, and soon, you’ll have a self-sustaining routine that keeps your garden thriving with minimal effort. Happy gardening! 🌿