
Fertilization
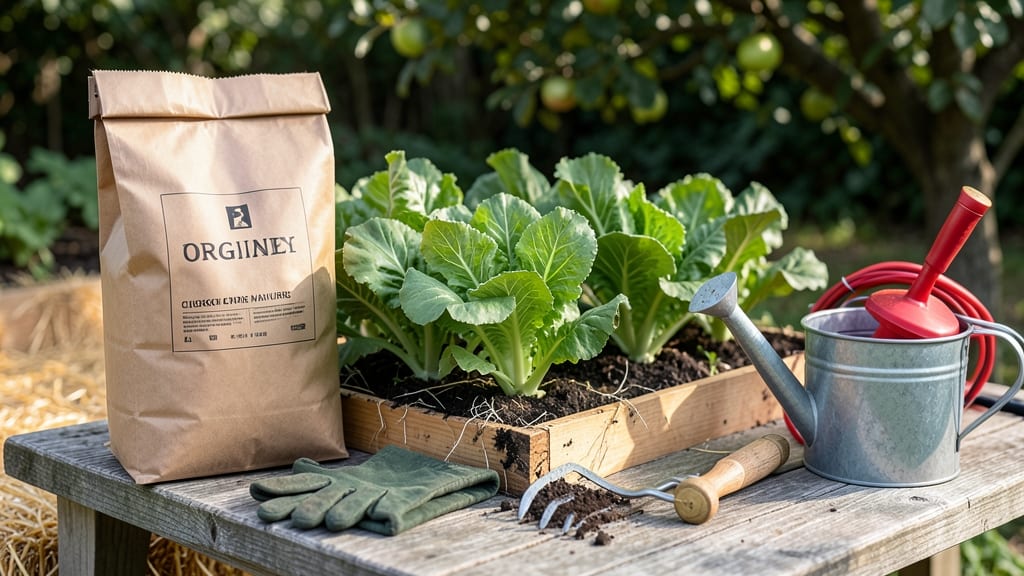
Using chicken fertilizer for gardens is one of the fastest ways to transform tired soil into nutrient-rich earth that feeds your plants for months.
But here’s the catch: raw chicken manure 🐔 can burn your seedlings if you don’t age it first. We’ve all seen the excitement of fresh manure—only to watch plants wilt days later.
The key is knowing exactly how to compost it, when to apply it, and which crops will thrive with its boost.
This guide covers the types of chicken fertilizer (raw vs. composted), step-by-step application methods for everything from leafy greens to tomatoes, and the critical safety rules to avoid plant damage. Whether you’re a backyard gardener or a container planter, you’ll learn how to use this powerhouse fertilizer without the risks.
By the end, you’ll know the best timing for fall applications, how to mix it into soil without overdoing it, and which plants will reward you with faster growth and bigger harvests. Let’s get your garden growing like never before.

How to properly compost chicken manure for garden soil
Chicken manure is one of the most powerful organic fertilizers you can add to your garden, packed with nitrogen, phosphorus, and potassium to boost plant growth. But fresh manure can burn plants and spread pathogens.
The key is proper composting to create a safe, nutrient-rich soil amendment. I’ve learned through years of trial and error that aging manure correctly transforms it from a risky additive into garden gold.
When composting chicken manure, think of it as a two-step process: first, you age the manure to reduce heat and pathogens, then you mix it with carbon-rich materials to balance nutrients.
This method ensures your garden gets the benefits without harming delicate roots. Let’s break down the exact steps to achieve perfectly composted chicken manure for your soil.
- 1 Collect and Age the Manure: Scoop fresh chicken manure into a pile or bin. Let it sit uncovered for 2-4 weeks to dry and reduce moisture. This initial aging cuts down on ammonia buildup and pathogens.
- 2 Mix with Carbon-Rich Materials: Combine the aged manure with dry leaves, straw, or wood shavings in a 2:1 ratio (carbon to nitrogen). This balance prevents odor and speeds up decomposition.
- 3 Turn the Pile Regularly: Use a pitchfork to turn the compost every 1-2 weeks. This adds oxygen, which keeps the pile hot (130-160°F) and speeds up decomposition. Aim for a 3-6 month composting timeline for fully stabilized manure.
- 4 Test for Readiness: Your compost is ready when it’s dark brown, crumbly, and smells earthy. If it still smells like ammonia, compost it longer. For edible plants, ensure it’s aged 6 months or more to kill pathogens.
- 5 Apply to Garden Soil: Mix 1-2 inches of composted manure into the top 6 inches of soil before planting. For container gardens, use 10% composted manure mixed with potting soil.
One common mistake I see is skipping the aging process. Fresh chicken manure can have high ammonia levels that burn plant roots and seedlings. Always let it sit for at least 2 weeks uncovered before composting. This simple step makes all the difference in safety and effectiveness.
Temperature plays a crucial role in composting. A hot pile (130-160°F) breaks down pathogens quickly, while a cool pile takes longer. Use a compost thermometer to monitor heat. If the pile isn’t heating up, add more nitrogen (like grass clippings) or turn it more frequently to introduce oxygen.
For gardeners with limited space, consider a compost bin or tumbler. These tools make turning easier and contain the mess. I’ve used a simple wooden bin for years—it’s affordable and does the job perfectly. Just ensure it has ventilation holes to allow airflow for optimal decomposition.
Once your composted chicken manure is ready, it’s time to put it to work. Spread a 1-inch layer around plants or mix it into the soil before planting.
Leafy greens like kale and lettuce love the nitrogen boost, while fruiting plants like tomatoes and peppers benefit from the phosphorus and potassium.
Remember, composted chicken manure isn’t just for vegetables. It’s also fantastic for flowers, shrubs, and lawns. The key is to use it as a soil amendment, not a top-dressing.
Mixing it into the soil ensures nutrients are available to plant roots over time, rather than sitting on the surface where they can wash away.
If you’re new to composting, start small with a 5-gallon bucket of manure and experiment with ratios. Keep a garden journal to track which plants respond best to your homemade compost. Over time, you’ll fine-tune your process for the most lush, productive garden possible.
With proper composting, chicken manure becomes a game-changer for soil health. Not only does it improve nutrient content, but it also enhances soil structure and water retention.
Your plants will thank you with vibrant growth and bountiful harvests—all thanks to a little patience and the right composting technique. 🌱
Best ways to apply chicken manure fertilizer to different plants
Chicken manure is a gardener’s goldmine, packed with nitrogen, phosphorus, and potassium to fuel plant growth. But how you apply it makes all the difference. For leafy greens like lettuce and spinach, I top-dress with a thin layer of composted manure—just ½ inch spread over the soil surface.
This method feeds the roots without overwhelming tender foliage. The key? Always use aged manure (6+ months) to avoid burning delicate plants.
For root crops like carrots and potatoes, I switch to side-dressing—mixing composted chicken manure into trenches beside the plants. This targets nutrients where they’re needed most, without disturbing the roots.
I dig a shallow trench, add a handful of manure, then cover it with soil. This works best when plants are 4-6 weeks old and actively growing.
🌱
| Plant Type | Application Method | Amount | Best Time |
|---|---|---|---|
| Leafy Greens (Spinach, Lettuce) | Top-dressing (surface layer) | ½ inch aged manure | Before planting or early growth |
| Root Crops (Carrots, Potatoes) | Side-dressing (trench method) | 1 cup per plant | 4-6 weeks after planting |
| Seedlings (Tomatoes, Peppers) | Compost tea (diluted) | 1:10 ratio (manure to water) | Weekly foliar spray |
| Container Plants (Herbs, Flowers) | Soil mix (10% composted manure) | 1 lb per 5-gallon pot | At planting or transplanting |
Seedlings—especially tomatoes and peppers—thrive with a gentle boost. I make a chicken manure tea by steeping aged manure in water (1:10 ratio) for 24-48 hours, then straining it. This diluted form is perfect for foliar sprays or watering young plants.
The tea provides quick nutrients without the risk of burning. I apply it weekly during the first 4 weeks of growth for a strong start.
Container gardens need a different approach. Since space is limited, I mix 10% composted chicken manure into the potting soil at planting time. For a 5-gallon pot, that’s about 1 pound of manure blended thoroughly.
This ensures even nutrient distribution and prevents overloading. I avoid fresh manure here—containers dry out faster, and raw manure can raise soil temperatures too high for delicate roots.
Flowering plants and fruit-bearing crops like berries benefit from a balanced approach. I apply composted manure in early spring before blooming begins, then switch to a lower-nitrogen blend once flowers appear. Too much nitrogen can reduce blooms and fruit production.
For roses, I mix manure into the soil at planting time and top-dress lightly in late summer to support root growth for next year.
🌿
Remember, the aging process is non-negotiable. Fresh manure can scorch plants and introduce harmful bacteria. Always compost for 6 months or use a compost accelerator to speed up decomposition.
For a quick test, I look for a dark, crumbly texture and an earthy smell—no ammonia odor! With the right method, chicken manure transforms your garden into a thriving ecosystem.