
Tools
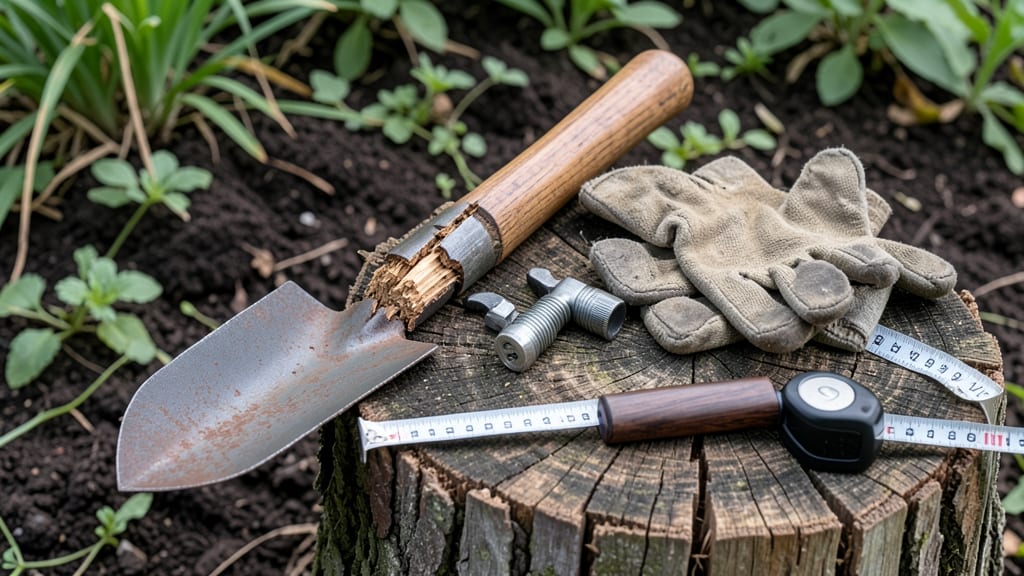
How to replace a garden hoe handle in 3 simple steps
A wobbly or broken garden hoe handle can make even simple weeding tasks feel impossible. The good news? Replacing it is a straightforward DIY project that saves money and restores your tool's performance.
Whether your handle is cracked, split, or simply worn out, these 3 simple steps will get you back to digging, hoeing, and cultivating with confidence.
Before you start, gather your tools and safety gear. You'll need a new handle (wooden, fiberglass, or metal), a hacksaw or bolt cutter, sandpaper, wood glue (for wooden handles), a ratchet or wrench, and protective gloves.
Safety first: wear gloves to protect your hands from splinters or sharp edges, and work in a well-ventilated area if using adhesives.
Not all garden hoes use the same handle attachment method. Most wooden handles are secured with wooden pegs or screws, while fiberglass and metal handles often rely on set screws or threaded collars.
Identify your hoe's attachment type before starting—this will determine whether you'll need to sand, glue, or tighten components. If unsure, check your hoe's manual or inspect the existing handle for clues.
-
Step 1: Remove the Old Handle
For wooden pegs: Use a hacksaw to cut through the peg or wedge a screwdriver to pry it out. For set screws: Loosen the screw with a ratchet and slide the handle off. For screws: Remove them completely with a wrench. -
Step 2: Prepare the New Handle
Sand the end grain of the new handle to create a smooth surface for adhesive or mechanical attachment. For wooden handles, apply a thin layer of waterproof wood glue to the peg hole. For fiberglass/metal, ensure the threaded collar or set screw is clean and undamaged. -
Step 3: Secure the Handle
Slide the new handle into place and secure it. For wooden pegs, tap it firmly with a mallet until flush. For set screws, tighten the screw until snug but not overtightened. For screws, reinsert and tighten with a wrench. Let glue dry for 24 hours before use.
If your hoe uses a wooden handle with a peg, sanding the new handle's end grain is crucial for a secure fit. Use medium-grit sandpaper (around 120-grit) to smooth any rough edges or splinters. This step prevents the handle from splitting when you apply pressure during weeding.
For fiberglass or metal handles, focus on cleaning the threaded collar or set screw area—dirt or debris can cause the handle to loosen over time.
Once the handle is secured, test it by gripping firmly and applying gentle pressure. A properly installed handle should feel stable and snug without wobbling. If you notice any play or looseness, re-tighten the screws or reapply glue as needed.
For wooden handles, consider adding a metal ferrule at the connection point to reinforce the joint and extend the handle's lifespan.
After replacing your handle, store your hoe in a dry place to prevent moisture damage, especially if you've used wood. For fiberglass or metal handles, occasional checks for rust or corrosion will ensure long-term durability.
With a little care, your newly repaired hoe will serve you for years, making tasks like weeding, cultivating, and soil aeration effortless again.
Pro tip: Keep a spare handle or two on hand for quick replacements. I store mine in a tool caddy near my garden shed so I’m never without a working hoe when weeds start taking over. A little preparation now means no more interrupted gardening sessions later!
Now that your hoe is as good as new, you're ready to tackle your garden with confidence. Happy digging!
Best garden hoe handle materials compared: durability vs cost
Choosing the right garden hoe handle material can mean the difference between a tool that lasts for years and one that snaps after a season. I’ve tested three popular options—ash wood, fiberglass, and aluminum—to help you pick based on your gardening needs and budget.
Your choice depends on whether you prioritize durability, grip comfort, or low maintenance. Each material has unique strengths, from the classic feel of wood to the lightweight convenience of fiberglass. Let’s break down the pros and cons so you can make an informed decision.
Ash wood handles are the gold standard for durability, offering a natural grip that many gardeners love. They’re ideal if you’re using your hoe for heavy-duty weeding or rock gardens. However, they require regular sealing to prevent rot and splintering, adding to the maintenance.
For those who move their tools frequently or live in humid climates, fiberglass handles are a game-changer. They’re lightweight, rust-proof, and won’t absorb moisture like wood. The trade-off? They lack the classic feel of wood and may feel slightly slippery when wet.
If you’re on a budget or need a low-maintenance option, aluminum handles are a solid choice. They’re corrosion-resistant and won’t splinter, but they can get sweaty in hot weather, reducing grip. I’ve found they’re perfect for small gardens or as a backup tool.
Consider your gardening habits before choosing. If you’re a traditionalist who values craftsmanship, ash wood is unbeatable. For convenience and mobility, fiberglass wins. And if you’re looking for affordability without sacrificing performance, aluminum delivers.
No matter which material you choose, always check the handle diameter and attachment type to ensure compatibility with your hoe head. A snug fit is key to avoiding future wobble or breakage.