
Picking
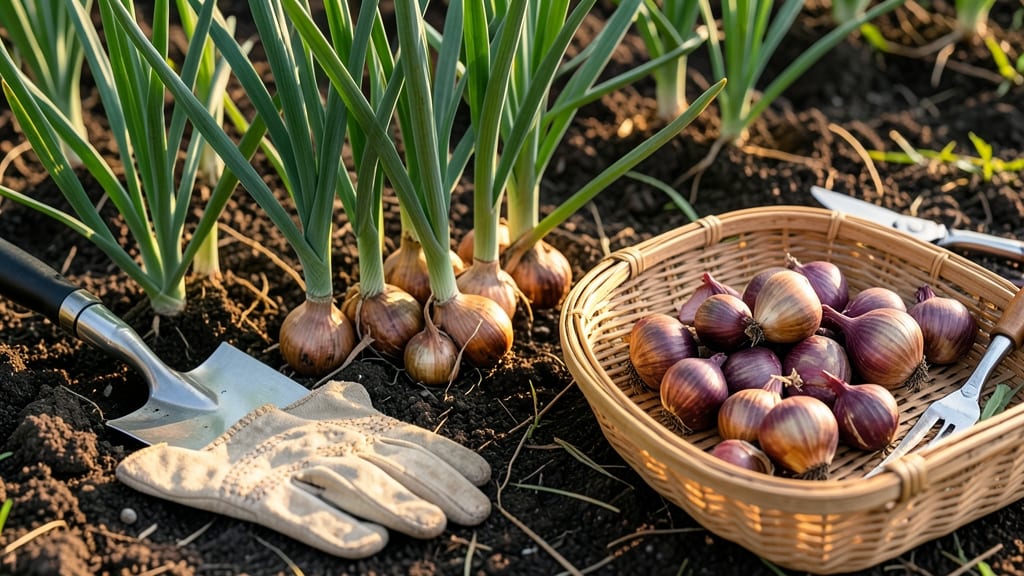
Harvesting shallots from your garden at the right time unlocks their boldest flavor and ensures a longer storage life—but miss the window, and you risk small, pungent bulbs or even total loss.
Shallots—those pungent, versatile alliums—reach their peak flavor when harvested at the right time, but timing and technique make all the difference between a bountiful harvest and wasted effort. 🧅
Most gardeners in USDA Zone 6a should start watching for signs in late July, when the tops begin yellowing and flopping over. If you wait too long, the bulbs may split or rot, while harvesting too early leaves you with tiny, underdeveloped shallots.
Below, I’ll walk you through the exact cues to look for, the best tools to use, and how to store your harvest so it stays fresh for months—plus the three biggest mistakes that ruin a perfect crop.

When to harvest shallots for maximum flavor and yield
Timing your shallot harvest correctly ensures you get the most flavorful, largest bulbs possible. Unlike onions, shallots mature more gradually, so watching for specific visual cues is key. The perfect harvest window balances bulb size, leaf condition, and seasonal timing—all influenced by your USDA climate zone.
Miss these signs, and you risk pulling bulbs that are either underdeveloped or past their prime, leading to shriveled or pungent flavors.
In USDA Zones 6-8, where most home gardeners grow shallots, the ideal harvest window typically falls between late July and early August. However, cooler zones (like Zone 5) may need to wait until early September, while warmer zones (Zone 9+) can start harvesting as early as mid-July.
The key is to align your harvest with the plant’s natural cycle, not just the calendar.
Here’s what to watch for to nail the perfect harvest:
- 1 Leaf Color Change: The tops begin turning straw-yellow and flop over, signaling the bulbs are ready. This usually happens 2-3 weeks before the leaves die back completely. 🟡
- 2 Bulb Size: Dig up a test bulb to check its diameter. At harvest, bulbs should be 1-2 inches wide. Smaller than 1 inch? Wait another week. Larger than 2 inches? You may have missed the sweet spot. 📏
- 3 Papery Skin: The outer layers of the bulb should feel dry and papery, not moist or rubbery. Run your thumb over the bulb—if it feels rough and crisp, it’s ready. If it’s still soft, wait 5-7 more days. 🧂
- 4 Seasonal Cues: In cooler climates (Zones 5-6), harvest when daytime temps drop below 80°F. In warmer climates (Zones 8-10), harvest before the first signs of heat stress appear, like leaf scorch. ☀️
- 5 Avoid Overgrowth: If you wait too long, the tops will turn brown and crispy, and the bulbs may split or rot. This is a clear sign you’ve passed the ideal harvest window. ⏰
Climate plays a huge role in shallot maturity. In Zone 5 or colder, where growing seasons are shorter, prioritize leaf yellowing over bulb size—smaller bulbs are often more flavorful in cooler temps.
Conversely, in Zone 9+, where heat lingers, focus on the papery skin and avoid harvesting during extreme heat, which can stress the plants.
Pro tip: If you’re unsure, do a test harvest by gently digging up one bulb from the outer edges of your bed. This lets you check maturity without risking the entire crop.
If the bulb meets the size and skin criteria, it’s time to harvest the rest. If not, wait another week and test again.
Harvesting too early results in small, pungent bulbs with less flavor, while waiting too long leads to split or rotting bulbs. The 105-day mark after planting is a general guideline, but visual cues—like the ones above—are far more reliable. Trust your eyes and fingers over the calendar!
Once you’ve confirmed the perfect harvest window, the next step is gentle digging to avoid damaging the bulbs. Use a fork to loosen the soil around the base, then lift carefully to preserve those prized shallots for storage or immediate use. ✂️
Step-by-step guide to harvesting shallots without damaging the bulbs
Harvesting shallots is all about timing and gentle handling—once you spot those telltale signs of maturity, like yellowing tops and papery skins, you’ll want to act fast.
The wrong technique can bruise bulbs or leave them vulnerable to rot, so I’ve perfected a method that keeps your harvest intact. Grab your tools, check the soil conditions, and follow these steps to ensure plump, flavorful shallots ready for storage.
Before you dig, confirm your shallots are truly ready by gently brushing away the soil around the base. Look for bulbs 1-2 inches wide with dry, papery outer layers—this means they’re primed for harvest. If the tops are still green or the bulbs feel soft, wait a few more days.
Harvesting too early means tiny, underdeveloped shallots, while waiting too long can lead to over-mature bulbs that split or sprout prematurely.
Use a sharp garden fork, pruning shears, and a basket to avoid bruising bulbs. A glove protects your hands from soil and sharp edges.
Insert the fork 3-4 inches away from the plant and lift gently to avoid piercing bulbs. Shake off excess soil to check for damage.
Cut foliage to 1-2 inches above the bulb using clean shears. This reduces moisture loss during drying.
Spread shallots in a shady, well-ventilated area (like a garage or porch) for 1-2 weeks. Avoid direct sun to prevent drying too fast.
Once fully dry, store in a mesh bag or paper bag in a cool, dark place (50-60°F). Check monthly for spoilage.
After harvesting, the drying process is critical—skip this, and your shallots may develop mold or rot. Lay them in a single layer on a screen or mesh bag in a spot with good airflow (like a covered porch).
Avoid plastic bags, which trap moisture. If your climate is humid, extend drying to 2-3 weeks to ensure the skins are completely dry and papery.
For long-term storage, braid shallots like garlic for a neat, space-saving display that keeps them organized and airy. Store them in a mesh bag or cardboard box with other root vegetables like onions or potatoes.
Check them every few weeks—discard any bulbs that feel soft or develop mold. With proper care, your harvest can last 4-6 months or even longer!
Remember, the key to a successful shallot harvest is patience and precision. Rush the drying process, and you risk spoilage; harvest too early, and you’ll miss out on flavor. Follow these steps, and you’ll enjoy homegrown shallots that rival store-bought—without the bruises or waste. Happy harvesting! 🧅