
Tools
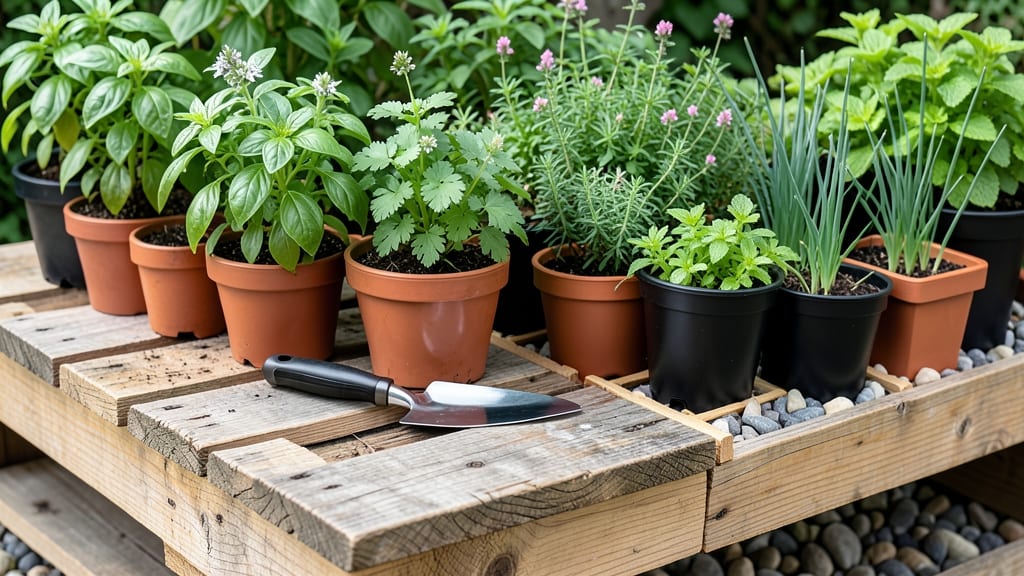
A pallet gardening table turns scrap wood into a functional, space-saving garden bed you can build in a weekend—no fancy tools or deep pockets required.
Picture this: your backyard transformed with a sturdy, elevated planter that’s perfect for herbs, veggies, or flowers, all while giving your knees a break. The best part? You’re upcycling materials that might otherwise end up in a landfill, saving money and reducing waste in one project.
Whether you’re working with USDA Zone 6a conditions or just love the idea of a portable garden, this guide covers everything from material prep to creative variations like vertical or tiered designs.
We’ll also share pro tips to keep your pallet table lasting for years—because nobody wants a collapsed planter mid-harvest season.
By the end, you’ll have a custom gardening table that’s drainage-friendly, easy to maintain, and ready for your April-May planting window. Let’s get building!
Step-by-step pallet gardening table construction guide for beginners
Building a pallet gardening table is a rewarding project that turns inexpensive materials into a functional, space-saving garden solution. Whether you're growing herbs, vegetables, or flowers, this guide will walk you through every step—from selecting materials to adding the final touches.
The best part? You can complete this project in under 2 hours with basic tools and minimal cost.
Before you start, ensure your pallets are heat-treated (marked "HT" or "MB") to avoid toxic chemicals. Check for cracks or loose boards, as these can compromise stability. A standard 40" x 48" pallet works perfectly for a single-tier table, but you can stack them for vertical gardens.
Gather your tools: a circular saw, drill, screwdriver, sandpaper, and safety gear like gloves and goggles.
Step-by-Step Pallet Gardening Table Construction
- 1 Prep Your Pallets: Clean pallets with a wire brush to remove debris. Sand rough edges and surfaces to prevent splinters. Use a level to ensure pallets are flat—prop up uneven ones with shims or scrap wood.
- 2 Cut Drainage Holes: Drill 1-inch holes in the bottom corners of each pallet using a hole saw. Space them 6 inches apart to allow excess water to drain freely. Cover holes with landscape fabric to prevent soil from washing out.
- 3 Assemble the Frame: Place two pallets side by side to form the tabletop. Secure them with 2x4 lumber as supports underneath. Attach the lumber to the pallets using deck screws (2.5 inches long) every 12 inches for stability. Add a third pallet as a base if needed for extra height.
- 4 Add Legs for Stability: Cut 4x4 posts to a height of 24-30 inches for legs. Attach them to the corners of the pallet frame using heavy-duty brackets or galvanized screws. Reinforce joints with wood glue for extra strength.
- 5 Line the Table: Cover the pallet slats with landscape fabric or hardware cloth to protect against nails and splinters. Secure it with staples or screws. Fill with lightweight potting mix (avoid garden soil—it compacts too much).
- 6 Seal and Protect: Apply a non-toxic wood sealant or beeswax finish to extend the life of your table. This step is optional but highly recommended for outdoor use. Let it dry completely before planting.
- 7 Plant and Maintain: Choose compact plants like basil, lettuce, or strawberries to maximize space. Water deeply 2-3 times per week and mulch with straw to retain moisture. Rotate your table every few weeks for even growth.
One of the biggest mistakes beginners make is skipping the drainage holes or using untreated pallets. Poor drainage leads to root rot, while toxic pallets can harm your plants.
Always prioritize safety and functionality. If you’re short on time, opt for a single-tier design instead of stacking pallets—it’s easier to assemble and maintain.
For a vertical garden twist, stack pallets horizontally and plant directly into the slats. This creates a living wall that’s perfect for herbs or shallow-rooted veggies. Just ensure each layer has proper drainage. If your table wobbles, add
5 Must-know tips to maximize your pallet gardening table’s lifespan
Your pallet gardening table can last for years with the right care—especially when you tackle common issues like wood rot and weather damage early. I’ve learned the hard way that skipping these simple steps can turn a sturdy table into a soggy mess in just one rainy season.
The key is balancing durability with plant health, so your herbs and veggies thrive while your table stays strong.
Before diving into tips, remember: prevention is easier than repair. A little upfront work—like sealing wood or optimizing plant placement—saves hours of sanding and rebuilding later. Let’s start with the top 5 strategies that have kept my pallet tables standing strong through multiple growing seasons.
- 1 Seal the Wood: Apply outdoor wood sealant or linseed oil to prevent moisture absorption. Reapply every 6-12 months, especially before rainy seasons. Focus on end grains—they soak up water fastest.
- 2 Elevate for Drainage: Add feet or legs (use concrete blocks or galvanized pipes) to keep the bottom off the ground. This stops rot from soil contact and improves airflow. Aim for 2-3 inches of clearance.
- 3 Optimize Plant Spacing: Crowded plants trap moisture and pests. Leave 6-12 inches between leafy greens and 12-18 inches for tomatoes or peppers. Use dwarf varieties to save space without sacrificing airflow.
- 4 Add a Protective Layer: Line the bottom with landscape fabric to block weeds and pests. For extra insulation, add a thin layer of cardboard before soil to deter ants and termites. Replace fabric yearly.
- 5 Rotate and Repair: Every 2-3 years, disassemble the table to sand rough spots and replace damaged planks. Rotate the table 90 degrees annually to prevent uneven wear. Store indoors during winter if possible.
One of my biggest mistakes was ignoring plant spacing until my basil and peppers were already struggling with powdery mildew. The fix? I swapped out the tightest planters for wider ones and added morning sunlight to dry leaves faster.
Now, I always group high-water plants (like lettuce) together and drought-tolerant plants (like rosemary) separately to simplify care.
For weather protection, I’ve started using a clear plastic tarp during heavy rains—it keeps soil from washing out while letting sunlight through. In winter, I cover the table with burlap to shield it from freezing temps.
These small tweaks have added 3+ years to my pallet tables’ lifespan, and my plants have never looked healthier.
Don’t wait until your table starts sagging to act. Start with these 5 tips today, and you’ll enjoy a low-maintenance, long-lasting gardening table for seasons to come. Your future self—and your plants—will thank you! 🌱