
Picking
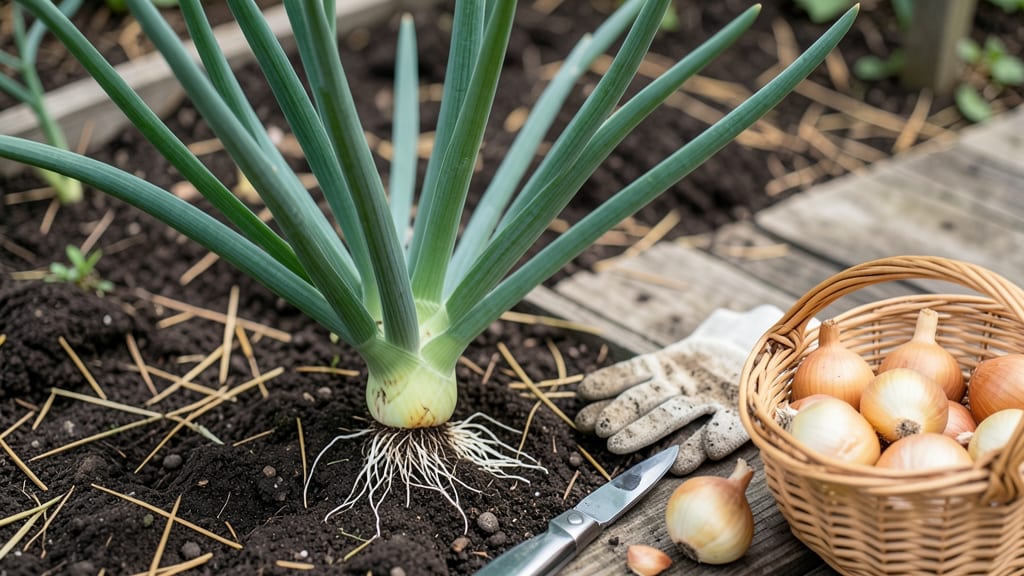
Harvesting onions from the garden at the right time ensures sweet, flavorful bulbs that store for months—so timing is everything.
Picture this: you’ve nurtured your 🧅 plants all season, only to pull them too early and end up with tiny, pungent onions that spoil in weeks. Or worse, you wait too long, and the bulbs split or rot in the ground.
The difference between a pantry full of storage onions and a wasted crop often comes down to knowing when those tops start to yellow and fall over.
Most gardeners assume onions are ready when the tops flop, but there’s more to it—leaf color, bulb size, and even the weather play a role. In USDA Zone 6a, where spring planting means a July–August harvest window, missing the cues can mean losing your entire crop.
Below, I’ll walk you through the three key leaf tests to nail the perfect harvest moment, plus how to adjust for your climate and storage goals.
You’ll leave here knowing exactly when to pull your onions for peak flavor, how to cure them for long-term storage, and why a half-inch-thick neck is the gold standard for storage varieties. No more guessing—just science-backed timing for onions that taste fresh all winter.

3 Leaf tests to determine perfect onion harvest timing
Harvesting onions at the right moment transforms your garden into a flavor powerhouse—but timing is everything. Too early, and you get small, pungent bulbs with poor storage life. Too late, and you risk sprouting or rot.
The secret? Pay attention to your onion's leaves, which reveal exactly when to harvest. These three leaf tests will help you master the perfect harvest window for bulbs, green onions, and storage varieties.
First, let’s clarify: not all onions share the same harvest cues. Storage onions (like Yellow Sweet Spanish or Red Wethersfield) need full maturity, while green onions (scallions) and shallots are ready much earlier.
Even within storage onions, long-day varieties (like Texas Early White) mature faster than short-day types (like Texas Grano). That’s why leaf tests are your best tool—they adapt to your onion type.
| Onion Type | Leaf Test 1: Color | Leaf Test 2: Angle | Leaf Test 3: Size | Harvest Window |
|---|---|---|---|---|
| Storage Onions (Bulb) | Top 1/3 yellows and dries | Falls over naturally | Leaves shrink 50% | Late summer (80–120 days) |
| Green Onions (Scallions) | Leaves stay green | Upright or slightly floppy | Bulb 1/4"–1/2" diameter | Spring/Fall (30–50 days) |
| Shallots | Top turns brown | Leaves curl inward | Cloves plump and firm | Mid-summer (90–110 days) |
The first test focuses on leaf color, which is your most reliable indicator. For storage onions, watch for the top third of the plant to turn straw-colored or yellow.
This signals the bulb has reached its peak sugar content and is ready for harvest. Green onions, however, should never show yellowing—harvest them when leaves are still vibrant green and the bulb is pencil-sized.
Next, observe the leaf angle. Mature storage onions will have leaves that flop dramatically, often pointing downward like a bow.
This isn’t wilting—it’s a natural sign the plant is redirecting energy to the bulb. Green onions, on the other hand, stay upright or only droop slightly when stressed by heat. If you’re growing shallots, look for leaves that curl inward like a fist—this means the cloves are ready.
Leaf size is the third critical clue. For storage onions, the leaves should shrink by about 50% compared to their peak size.
This shrinkage means the plant is maturing rapidly, and the bulb is nearing its ideal size. Green onions don’t follow this rule—harvest them when the bulb is 1/4" to 1/2" thick, regardless of leaf size.
Pro tip: If your onion leaves are still expanding, wait a week or two before testing again.
Timing also varies by onion variety. Long-day onions (like Texas Early White) mature in 80–100 days and often signal readiness earlier. Short-day onions (like Texas Grano) take 120–150 days and may need an extra week or two.
To avoid guesswork, plant a few extra sets of each variety—this gives you a buffer for testing leaves at different stages.
One common mistake? Harvesting based on bulb size alone. A large bulb doesn’t guarantee flavor or storage potential—it could be overmature and pithy. Always cross-check with the three leaf tests to ensure you’re harvesting at the sweet spot.
For example, a 2-inch bulb with yellowing leaves is perfect, but the same bulb with green leaves is still developing.
Regional climate also plays a role. In cooler zones (3–5), onions may take longer to mature due to shorter growing seasons. In warmer zones (7–10), they might bolt prematurely if stressed by heat.
Adjust your leaf tests accordingly: if your onions are yellowing too early in hot climates, harvest promptly to avoid bolting. Conversely, in cooler areas, wait until leaves are fully dry before pulling.
Finally, don’t ignore the neck of the onion. At harvest time, the stem should be 1/2" thick and slightly shriveled. This "neck" acts as a natural seal, protecting the bulb during storage.
If it’s still thin and green, your onion isn’t ready—leave it in the ground for another week.
How to harvest onions without ruining flavor or storage life
Once your onions show those perfect harvest signs, timing the pull is just the beginning. The real secret to long-term storage and peak flavor lies in how you handle them post-harvest.
A rushed cut or improper drying can turn your perfect bulbs into sad, moldy relics before winter even arrives. I’ve learned the hard way—skipping these steps means losing months of hard work to sprouting or rot.
Start by choosing a dry, sunny day with temperatures between 60°F and 75°F. This isn’t just about convenience—it’s about giving your onions the best chance to cure properly.
Humidity is your enemy here, so avoid harvesting after rain or in damp mornings. Even a slight breeze helps speed up the drying process naturally.
⚠️ callout-warning ⚠️
If you wait until the leaves turn brown and crispy, you’ve missed the window. Over-mature onions split open during drying, and their flavor becomes bitter. The ideal moment is when about 50% of the tops yellow—this balances sweetness with storage potential. For green onions, snip just 1-2 inches above the bulb when leaves reach 10-12 inches tall.
Use a sharp pruning shears or garden knife to cut the tops 1-2 inches above the bulb. Never pull onions by the roots—this damages the skin and invites rot.
Gently loosen the soil around the bulb with a fork if needed, then lift carefully. Shake off excess dirt but don’t wash them yet—moisture is the enemy of storage life.
Lay your onions in a single layer on a well-ventilated tray or screen, preferably outdoors in shade. If your climate is humid, bring them indoors near a fan or open window.
The goal is to dry the necks completely—this takes 3-7 days depending on weather. Once the necks are papery and brittle, your onions are ready for braiding or storage.
For long-term storage, braid the dried onions and hang them in a cool, dark place with good airflow (like a pantry or basement). Alternatively, store them loose in mesh bags or cardboard boxes.
Check periodically for mold—discard any bulbs that feel soft or smell off. With proper care, your homegrown onions can last 6-8 months!
Pro tip: Save the smallest bulbs for replanting next season. These onion sets will grow into full-sized onions if planted in early spring. And if you notice any sprouting during storage, simply trim the green shoots—this won’t harm the bulb and keeps them usable.