
Picking
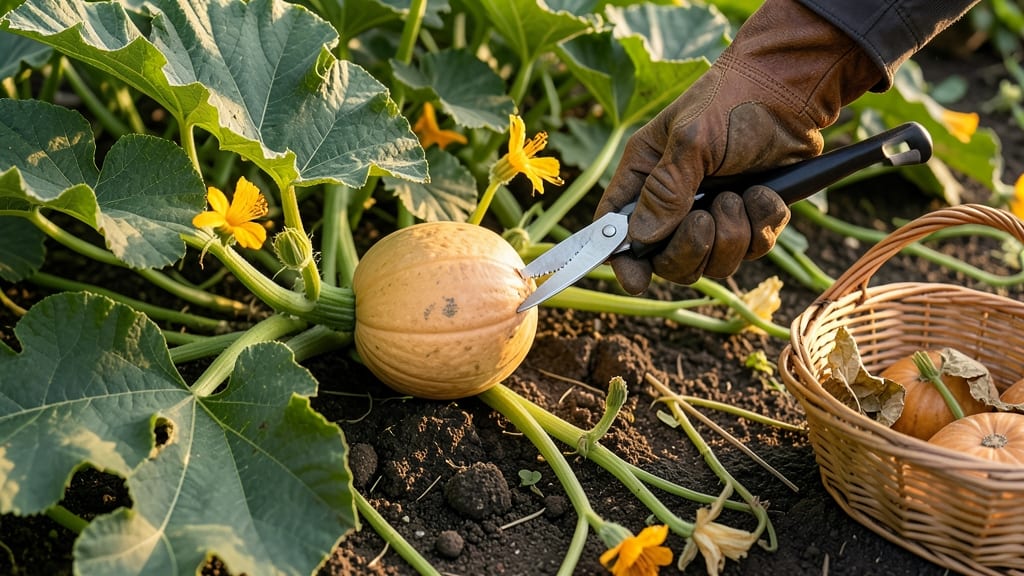
Picking butternut squash at the right time ensures sweet, firm flesh and long storage life — a game-changer for gardeners aiming for both flavor and shelf stability.
Picture this: you’ve nurtured your 🎃 from seed, and now the moment of harvest looms. Butternut squash left too long on the vine loses sweetness and texture, yet harvested too early, it won’t ripen properly. Timing is everything for that perfect balance of flavor and storage potential.
Most gardeners in Zone 6a can expect harvests between late September and early November, but the real secret lies in three hands-on tests: checking skin hardness, observing stem drying, and spotting the seed cavity’s deepening color.
Below, I’ll walk you through these practical tests, how to adjust for early or late planting, and what happens if you miss the window—spoiler: your squash won’t thank you.
3 Hands-on tests to determine perfect butternut squash ripeness
Knowing when to pick butternut squash from your garden can be tricky—especially if you want that perfect balance of sweetness and texture. Unlike some fruits that ripen off the vine, butternut squash reaches peak flavor while still attached.
I’ve tested these three foolproof methods over multiple harvests, and they’ll help you avoid the common mistakes of picking too early or too late.
First, let’s talk about the vine color change. Mature butternut squash vines transition from vibrant green to a more muted, yellowish hue as they prepare for harvest. This shift signals that the plant is redirecting energy to the fruit.
Pay close attention to the main vine where your squash is growing—it’s your first clue that ripening is underway.
Next, focus on the stem drying near the fruit. When the stem connecting the squash to the vine turns brown and papery, it’s a clear sign that the squash is nearing readiness.
Gently tug on the stem—if it separates easily from the vine, your squash is likely ready. This test is especially reliable because it indicates the plant has stopped nourishing the fruit.
🎃 3 Hands-On Ripeness Tests for Butternut Squash
-
1. Vine Color Change:
Check for yellowing or browning of the main vine near the fruit. Ready when: vine turns dull yellow.
-
2. Stem Drying:
Gently tug the stem—if it’s dry and brown, the squash is ripe. Ready when: stem snaps easily when pulled.
-
3. Seed Cavity Formation:
Press your fingernail into the blossom end—if it doesn’t puncture easily, the seeds are fully formed. Ready when: rind resists pressure.
Pro Tip: Combine all three tests for the most accurate ripeness assessment.
Don’t overlook the seed cavity formation at the blossom end of the squash. Press your fingernail into this area—if it doesn’t puncture easily, the seeds inside are fully developed. This test is crucial because underripe squash will have soft, undeveloped seeds that affect flavor.
I’ve found that squash with a hard rind at this end stores best for months.
For best results, perform these tests in the morning hours when the squash is cool and firm. Avoid checking after a hot day, as the skin may feel softer temporarily. I always test a few squash from different vines to account for variations in ripening speeds.
Consistency is key—if one squash passes all tests, check nearby ones within a day or two.
One mistake I see often is waiting until the first frost to harvest. While butternut squash can tolerate light frost, prolonged cold will damage the fruit and reduce storage life.
Instead, harvest when the squash is fully ripe and move it to a cool, dry place indoors. This ensures you get the sweetest flavor and longest shelf life.
If you’re growing butternut squash in containers or raised beds, these tests still apply, but monitor ripening more closely. Container-grown squash may ripen faster due to limited root space.
I’ve had success with container squash by checking the stem drying test first—it’s the most reliable indicator in smaller growing spaces.
Finally, remember that butternut squash continues to ripen slightly after harvest. If you’re unsure, pick a few squash that meet two out of three tests and let them cure in a warm, dry place for 5–10 days.
This post-harvest ripening process enhances sweetness and texture. Store them in a cool, dark place with good air circulation for optimal results.
With these three hands-on tests, you’ll never second-guess when to pick your butternut squash again. The key is patience—wait until all signs align, and you’ll be rewarded with squash that’s perfect for roasting, baking, or storing through winter. Happy harvesting! 🎃
Butternut squash ripeness timeline: when to expect harvest based on planting date
Timing your butternut squash harvest depends on your planting date and climate zone. In warm regions like USDA Zones 8-10, you can plant as early as March and expect harvests by late October.
Meanwhile, gardeners in cooler Zones 3-6 typically plant after last frost (mid-May) and harvest between mid-September and November. The key is tracking days to maturity—most varieties need 80-120 days from seed.
Your planting window directly impacts harvest timing. In Zone 6a, planting in late April yields harvests by late September, while early June plantings may extend harvests into early November.
Always account for your first frost date—butternut squash cannot tolerate frost, so adjust planting to avoid late-season losses. For example, if frost hits October 15, aim to harvest by early October.
Adjust your planting schedule if you experience early-season heat waves or late frosts. For example, in Zone 5, planting 3 weeks earlier (early May) helps compensate for shorter growing seasons.
Conversely, in Zone 9, delaying planting until late March avoids summer heat stress. Always use black plastic mulch in cooler zones to extend the season by 2-3 weeks.
Watch for vine yellowing or leaf drop as signs your squash is nearing maturity. In Zones 3-6, these cues appear 4-6 weeks before frost, signaling it’s time to harvest.
For container-grown squash, reduce watering 2 weeks before harvest to concentrate sugars. If your planting date was late, prioritize harvesting the largest squash first—they’ll ripen faster.
Never let frost damage your crop—even a light frost can ruin flavor and texture. In Zones 4-6, use row covers to protect plants until harvest. For Zones 7-10, focus on early planting to avoid summer heat stress.
By aligning your planting date with your climate zone, you’ll maximize yield and ensure peak ripeness at harvest time.
Pro tip: Mark your planting date on a calendar and count back 100 days to estimate harvest. This simple trick helps you stay ahead of frost risks and adjust watering/fertilizing schedules. With practice, you’ll nail the perfect harvest window every season! 🎃