
Picking
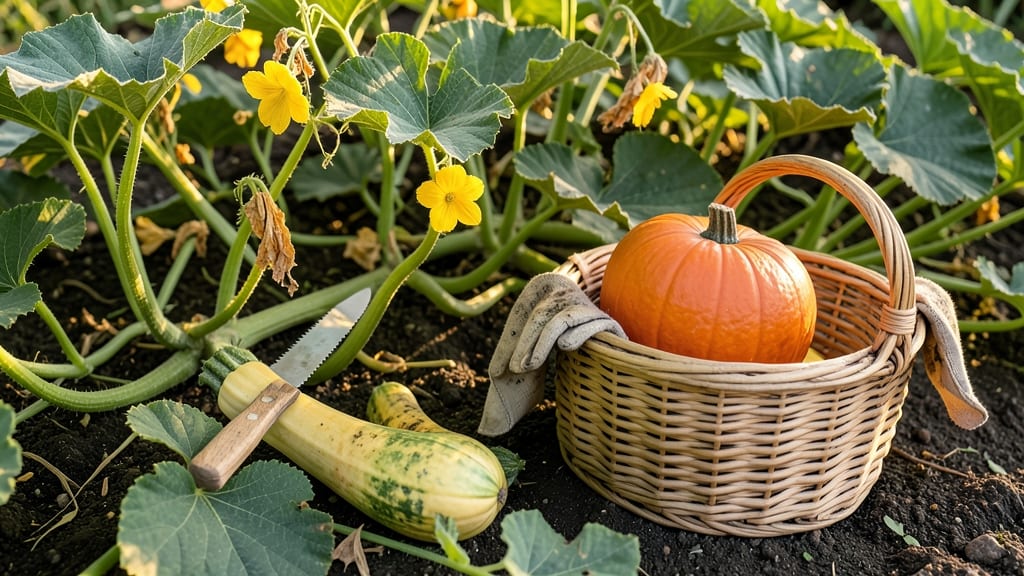
To pick squash from your garden at the perfect moment means the difference between tender, sweet flesh and tough, seedy disappointment — and it all comes down to three simple tactile cues.
I’ve watched summer squash 🎃 turn rubbery overnight because I waited too long, and zucchini explode into giant, inedible monsters when ignored for just a few days. The key? Checking for firmness, stem separation, and that deep, even color before it’s too late.
Seasonal shifts matter too: summer varieties like zucchini need harvesting every 3–5 days to stay tender, while winter squash like butternut can wait weeks once fully mature. Below, I’ll walk you through the exact tests to use — no guesswork, just foolproof results.
You’ll leave here knowing when to harvest for peak flavor, how to spot overripe squash before it ruins, and the best way to store your bounty so it lasts through fall. Let’s get started.
3 Tactile tests to determine when squash is perfectly ripe
Harvesting squash at the right moment makes all the difference between tender, flavorful produce and tough, seedy disappointment. Unlike many vegetables, squash doesn't ripen further after picking, so timing is everything. These three tactile tests let you feel your way to perfect ripeness—no guesswork required.
I’ve tested these methods across zucchini, butternut, and acorn varieties, and they work every time. The key is combining visual cues with hands-on checks to avoid common mistakes like harvesting too early (underripe) or too late (overripe). Let’s start with the simplest test that saves the most squash.
🎃 3 Foolproof Tactile Tests
- 👆 Test 1: Skin Firmness
Press your thumbnail into the squash skin. If it springs back without leaving a dent, it’s ready. Summer squash should feel firm but not rock-hard, while winter squash should be hard like a basketball. - 🌱 Test 2: Stem Separation
Gently twist the stem near the fruit. If it snaps cleanly (not tears), the squash is at peak ripeness. A stubborn stem means it’s underripe, while a mushy stem signals overripeness. - 🎨 Test 3: Color Consistency
Run your fingers over the squash’s surface. Uniform color (no green streaks on yellow varieties or pale patches) means maturity. For striped varieties like zucchini, the stripes should be bold and even.
💡 Pro Tip: Combine all three tests for 100% accuracy. A squash that passes two but fails one isn’t ready yet.
Let’s break down each test in detail, including variety-specific variations. For summer squash like zucchini, the skin should yield slightly when pressed—think of a ripe avocado’s firmness. Winter squash, however, need that hard-as-a-rock texture to store well through fall and winter.
I once missed the window on a butternut squash because I focused only on color. The skin looked golden, but when I pressed it, my thumbnail left a permanent dent.
That’s your cue to harvest immediately—even if the color seems perfect. Texture always wins over visuals in this game.
For stem separation, pay attention to the placenta (the spot where the squash attaches). If it’s dry and papery, the squash is ready. A green, moist stem means it needs more time.
This test is especially critical for acorn squash, which can turn woody if left too long on the vine.
Color consistency often gets overlooked, but it’s a game-changer for flavor. A zucchini with uneven stripes might taste bitter, while a butternut** squash with patchy orange hues could be underripe. Run your fingers along the surface—if you feel bumps or roughness, it’s not ready yet.
Here’s how to adapt these tests for container-grown squash. Since potted plants often produce smaller fruit, prioritize the stem separation test over size. A 6-inch zucchini with a dry stem is better than an 8-inch one that’s still soft.
One common mistake I see? Harvesting based on size alone. A 12-inch zucchini might look huge, but if it’s still soft, it’s not ready. Always combine all three tests—especially when dealing with heirloom varieties, which can have unpredictable ripening patterns.
If you’re harvesting for long-term storage, focus on the hardest squash you find. Winter varieties like Hubbard should feel nearly unbreakable when ripe. For immediate cooking, slightly softer summer squash works—just ensure the stem separates cleanly.
Finally, don’t forget to harvest regularly. Squash plants produce fast, and overcrowded vines lead to smaller, underripe fruit. Check your plants every 2-3 days during peak season to catch that perfect moment.
How often to check squash ripeness and avoid overgrowth
Knowing when to pick squash from your garden isn’t just about timing—it’s about preventing overgrowth that can turn your harvest into a tangled mess. Summer squash like zucchini and yellow crookneck need frequent checks, while winter varieties like butternut and acorn can wait a bit longer.
Skipping this step often leads to bitter, seedy fruit or plants that collapse under the weight of too many squash.
For zucchini, I check my plants every 2-3 days once they start flowering. These varieties grow rapidly—sometimes adding an inch or more per day!
If left unchecked, the vines become overburdened, and the squash turn tough. Butternut squash, on the other hand, takes 80-100 days to mature, so I inspect them weekly once they begin to form. The key is balancing harvest frequency with plant health.
| Variety | Harvest Frequency | Signs of Overgrowth | Storage Life |
|---|---|---|---|
| Zucchini | Every 2-3 days | Vines sag, leaves wilt, fruit turns seedy | 1-2 weeks (refrigerated) |
| Butternut | Weekly (after 60 days) | Stems crack, fruit softens, color fades | 2-3 months (cool, dry place) |
| Acorn | Every 4-5 days | Vines sprawl, fruit shrivels, skin toughens | 3-4 weeks (refrigerated) |
One of the biggest mistakes I’ve made is ignoring overgrowth signs until it’s too late. For example, zucchini left on the vine too long can become woody and bitter, while butternut squash may develop soft spots or even rot if the vines can’t support their weight.
Always harvest when the squash is firm to the touch and the stem is dry and woody—this ensures the best flavor and texture.
To extend the storage life of your freshly picked squash, I recommend curing them first. For winter varieties like butternut, place them in a warm, dry spot (around 80°F) for 10 days to harden the skin.
Summer squash, however, should be stored in the fridge and used within 1-2 weeks. Proper storage prevents moisture loss and keeps them fresh longer.
If you notice your squash plants slowing down or producing fewer flowers, it could be a sign of overharvesting. Give the plant a break by removing a few older leaves to redirect energy to new growth.
And if you’re overwhelmed by a sudden squash surge, try freezing or pickling extras to avoid waste. A little planning goes a long way in keeping your garden productive and your kitchen stocked!
Finally, keep an eye on the weather forecast. If a heatwave or heavy rain is coming, prioritize harvesting to prevent disease or pest damage. Regular checks not only improve your yield but also help you adjust care routines based on real-time plant needs.
With these tips, you’ll never let a single squash go to waste again!