
Tools
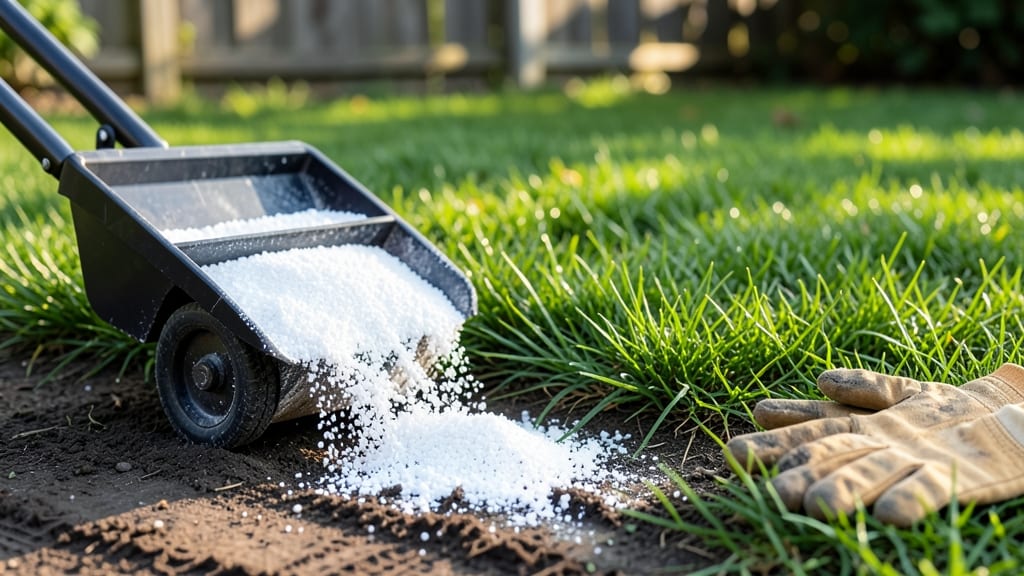
Putting lime in your garden at the right time can transform struggling plants into thriving ones 🌱—but the clock is ticking, and timing matters more than you might think.
Struggling with yellowing leaves, stunted growth, or poor blooms? Your garden might need lime—but timing is everything. Adding lime at the wrong time can disrupt plant health or waste your efforts. Here’s the science-backed guide to knowing exactly when to apply lime for optimal results.
Fall is the sweet spot for most climates, especially in Zone 6a, where you can work lime into the soil 3–4 months before planting. This gives it time to dissolve and adjust pH before roots need it.
But regional differences mean spring can also work in warmer areas—just avoid high-heat months when lime can burn plants.
Below, I’ll break down the best seasons, how to test your soil, and the 3 common mistakes that make lime applications fail. No more guessing—just healthier soil and happier plants.
Best times of year to apply lime for maximum soil pH adjustment
Timing is everything when it comes to applying lime to your garden. The best time depends on your local climate and the type of plants you’re growing.
Most gardeners agree that late summer or early fall is ideal for most regions, but let’s break down why—and when to adjust for your specific needs.
Lime works best when applied 3 to 4 months before planting. This gives it time to integrate into the soil and adjust the pH level naturally. If you apply it too close to planting, the sudden pH shift can stress young roots or even harm beneficial microbes.
Soil temperature plays a critical role. Cooler temperatures in fall or early spring slow down microbial activity, which means lime won’t leach away as quickly. In warmer climates, late summer (August-September) is perfect because it allows the lime to work its magic before the next growing season.
For northern climates (USDA Zones 3-6), aim for late August to October. In southern climates (Zones 7-10), June to early July works best—just before the heat peaks and soil activity slows. Always check your frost dates to avoid applying lime too late in the season.
If you missed the fall window, early spring is your next best option. Apply lime in March or April, about 6 weeks before planting. This gives it enough time to buffer the soil before seeds or transplants go in.
Just avoid applying it too late in spring, as warm soil can cause lime to leach away quickly.
For acid-loving plants like blueberries or azaleas, timing is even more critical. These plants thrive in acidic soil (pH 4.5-5.5), so lime should only be added if your soil is too alkaline. In this case, apply lime sparingly in early spring and monitor pH closely.
Another key factor is rainfall. If you live in a wet climate, apply lime in dry spells to prevent it from washing away. In drought-prone areas, water the soil lightly after applying lime to help it settle into the root zone.
Pro tip: Tilling lime into the top 6 inches of soil ensures even distribution. If you’re working with lawns, use a spreader for uniform coverage. Always water the area after application to activate the lime and prevent dust from spreading.
Remember, lime isn’t a quick fix—it takes time to adjust soil pH properly. By choosing the right season and climate-specific timing, you’ll set your garden up for healthier plants and better yields all year round. 🌱
How to test and prepare your soil before adding lime
Before adding lime to your garden, you need to know your soil’s current pH level. Lime (calcium carbonate) raises pH, but applying it blindly can harm acid-loving plants like blueberries or azaleas. Start with a simple soil pH test—either a DIY kit or lab analysis—to avoid costly mistakes.
I’ll walk you through the process, from testing to calculating the right lime dosage for your soil type.
For DIY testing, grab a soil pH test kit (available at garden centers for $10–$20). These kits use color-changing indicators to show your soil’s acidity or alkalinity. Follow the instructions: mix soil with distilled water, add the reagent, and compare the color to the chart.
For more accuracy, send a sample to a local agricultural extension office—they’ll provide a detailed report for a small fee.
Once you have your pH reading, compare it to the ideal ranges for your plants. Most vegetables thrive at pH 6.0–7.0, while acid-loving plants like blueberries need pH 4.5–5.5.
If your soil is too acidic (below 6.0), lime is the solution—but first, you’ll need to determine how much to apply. This depends on your soil type: sandy soil requires more lime than clay soil because it drains faster.
| Plant Type | Ideal pH Range | Lime Needed if pH is Below |
|---|---|---|
| Vegetables (tomatoes, peppers, lettuce) | 6.0–7.0 | 6.0 (apply 5–10 lbs per 100 sq ft) |
| Fruits (strawberries, apples) | 6.0–7.0 | 6.0 (apply 10–20 lbs per 100 sq ft) |
| Blueberries (acid-loving) | 4.5–5.5 | Do NOT lime (use sulfur instead) |
| Lawns (cool-season grasses) | 6.0–7.0 | 6.0 (apply 20–50 lbs per 1,000 sq ft) |
| Azaleas, rhododendrons | 4.5–6.0 | Do NOT lime (use peat moss) |
To calculate lime dosage, use this rule of thumb: sandy soil needs about 20–30 lbs of lime per 100 sq ft to raise pH by 1 point, while clay soil requires only 10–15 lbs for the same effect.
For example, if your pH is 5.5 and you want to reach 6.5, apply 40–60 lbs of lime per 100 sq ft for sandy soil. Always work lime into the top 6 inches of soil using a rototiller or broadfork for even distribution.
After applying lime, wait 2–3 months before planting or retesting. Lime takes time to dissolve and adjust pH, so rushing can lead to uneven results.
For container gardens, mix lime into the potting soil at 10–20% of the soil volume, depending on the current pH. Re-test every 1–2 years, especially if you notice new plants struggling or yellowing leaves reappearing.
Remember, lime isn’t a quick fix—it’s a long-term soil amendment. If your soil is severely compacted or lacks organic matter, combine lime with compost to improve structure. For acid-loving plants, avoid lime entirely and opt for sulfur or peat moss instead.
With the right prep, your garden’s soil will be ready for healthy growth when planting season arrives.