
Tools
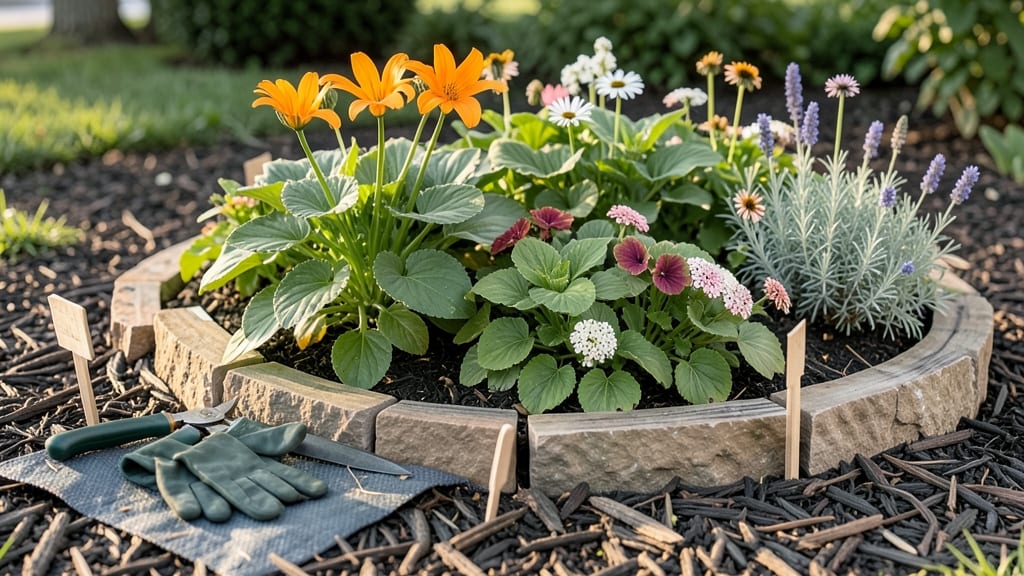
Mound garden bed ideas can transform your yard into a functional, beautiful space that works with your body and your plants.
Struggling with poor drainage, back pain from bending, or limited space in your garden? Mound garden beds offer a brilliant solution—elevating your plants while reducing strain and improving soil health.
Whether you're working with a small urban patio or a sprawling backyard, these raised layouts make gardening easier and more productive.
Beyond practicality, mound beds let you get creative with shapes and plant pairings. Imagine a spiral herb mound or a tiered vegetable pyramid—designs that save space while boosting aesthetics. Plus, the right plants thrive in these elevated beds, from drought-tolerant perennials to lush vegetables.
In this guide, I’ll walk you through design inspiration, step-by-step construction tips, and the best plants for mound beds. By the end, you’ll have a plan to build your own—no more soggy soil or sore knees!
10 Creative mound garden bed designs for any yard size
Mound garden beds transform even the smallest spaces into lush, accessible growing areas. Whether you have a tiny urban patio or a sprawling backyard, these elevated designs solve drainage issues while adding beauty.
The key? Customizing height and shape to match your space and plants. Let’s explore designs that work for containers, ground beds, or tiered structures—all while reducing back strain and improving soil health.
One of the biggest advantages of mound beds is their versatility for different yard sizes. A 3-foot circular herb mound fits perfectly on a balcony, while a 6-foot tiered vegetable pyramid thrives in a large backyard.
The designs below include plant pairings optimized for drainage and aesthetic appeal, ensuring your garden looks as good as it grows. Ready to elevate your gardening game?
📌 Comparison Table: Mound Garden Bed Designs by Space & Purpose
| Design Name | Best For | Size Range | Key Plants | Drainage Tip |
|---|---|---|---|---|
| Circular Herb Mound | Urban balconies, patios | 2–3 ft diameter | Basil, thyme, rosemary | Add perlite to topsoil |
| Tiered Vegetable Pyramid | Backyards, large gardens | 4–6 ft height | Tomatoes, peppers, lettuce | Use gravel base layer |
| Spiral Flower Bed | Small gardens, borders | 3–4 ft diameter | Marigolds, lavender, snapdragons | Mulch with pine bark |
| Square Pollinator Mound | Eco-friendly gardens | 2x2 ft base | Coneflowers, bee balm | Add sand to clay soil |
| Keyhole Herb Garden | Small spaces, permaculture | 1.5 ft diameter | Parsley, chives, mint | Compost center for nutrients |
For small spaces, the circular herb mound is a game-changer. It fits on a balcony or windowsill while keeping herbs like basil and thyme thriving. The shallow design prevents overwatering, and the compact size makes harvesting a breeze.
I’ve seen these mounds topped with terracotta pots for extra drainage, perfect for renters or urban gardeners.
If you’re working with a larger yard, consider a tiered vegetable pyramid. This design maximizes vertical space, allowing you to grow tomatoes at the top (where they get the most sun) and leafy greens at the base.
The tiers also create microclimates, letting you grow plants with different sunlight needs in one bed. Just ensure each tier has proper drainage layers to prevent rot.
For a whimsical touch, try a spiral flower bed. This design mimics nature’s growth patterns, with plants arranged in a counterclockwise spiral to attract pollinators.
Start with tall perennials at the center (like lavender) and shorter annuals at the edges (like marigolds). The spiral shape also makes weeding easier—just follow the curve!
Eco-conscious gardeners will love the square pollinator mound. Packed with native wildflowers, this design supports bees and butterflies while requiring minimal water. The square shape fits neatly into small garden corners or alongside fences.
To boost drainage, mix sand into the soil or add a gravel layer at the base.
Lastly, the keyhole herb garden is ideal for permaculture enthusiasts. The central "keyhole" holds compost, feeding the surrounding herbs as it decomposes. This design is self-sustaining and perfect for chives, parsley, and mint, which thrive in nutrient-rich soil.
The compact size makes it great for kitchen gardens or windowsill growing.
No matter which design you choose, remember: drainage is key. Always start with a gravel or sand base, then layer with com
How to build a mound garden bed: step-by-step soil & drainage guide
Mound garden beds are a game-changer for gardeners dealing with clay soil, poor drainage, or physical limitations. By elevating your plants, you create a self-draining environment that reduces back strain and expands your growing space.
The key to success lies in the soil composition and slope stability—two factors that often trip up beginners. Let’s break it down into simple, actionable steps to ensure your mound bed thrives from day one.
Before you grab your shovel, choose a sunny location with at least 6 hours of direct sunlight. Avoid low spots where water pools after rain. A gentle slope (1-2 inches per foot) is ideal for drainage, but even flat areas can work if you build the mound high enough.
Start with a base layer of landscape fabric to prevent weeds from creeping up through your soil mix.
Step-by-Step Mound Garden Bed Construction
-
Step 1: Outline Your Design
Sketch your mound’s shape (rectangular, circular, or freeform) using stakes and string. Aim for a height of 12-18 inches and a base width of 3-4 feet for easy access. Mark the centerline to ensure even slopes on all sides. -
Step 2: Build the Base
Remove topsoil and replace it with a 4-inch layer of coarse gravel or crushed stone. This layer ensures optimal drainage and prevents compaction. Compact it lightly with a tamper for stability. -
Step 3: Layer for Drainage
Add a 2-inch layer of sand over the gravel. This creates a transition zone that filters water away from plant roots. Avoid fine sand—coarse builder’s sand works best. -
Step 4: Mix the Soil
Combine equal parts topsoil, compost, and perlite (or peat moss). For heavy clay soil, increase perlite to 20% of the mix to improve aeration. Avoid garden soil alone—it compacts easily and suffocates roots. -
Step 5: Shape the Mound
Pile the soil mix onto the base, sloping the sides at a 30-degree angle. Leave a flat top (12-18 inches wide) for planting. Water the soil lightly to settle it before adding plants. -
Step 6: Plant Strategically
Place tall plants (like sunflowers or tomatoes) on the north or west side to avoid shading shorter plants. Use mulch (straw or wood chips) to retain moisture and suppress weeds. Water deeply after planting. -
Step 7: Maintain Drainage
Check for water pooling after rain. If needed, add more gravel to low spots or adjust the slope. Replenish mulch annually and top-dress with compost every spring to maintain fertility.
One of the biggest mistakes I see is skipping the gravel base, which leads to waterlogging and root rot. Another common error is using too much clay soil—this can turn your mound into a brick over time.
To test your drainage, dig a 6-inch hole, fill it with water, and time how long it takes to drain. If it’s slower than 30 minutes, add more perlite or sand.
For long-term success, consider adding a drip irrigation system to deliver water directly to the roots without disturbing the mound’s structure. This is especially helpful in dry climates or during summer heatwaves.
I’ve found that native plants like black-eyed Susans or coneflowers thrive in mound beds because they’re adapted to drought conditions and well-draining soil. 🌻
Finally, don’t forget to rotate your crops if you’re growing vegetables. Mound beds are perfect for heavy feeders like tomatoes and peppers in one year, followed by light feeders like beans or carrots the next.
This keeps your soil balanced and productive for years to come. With these steps, your mound garden bed will be a low-maintenance, high-reward feature in your landscape. ✂️