
Tools
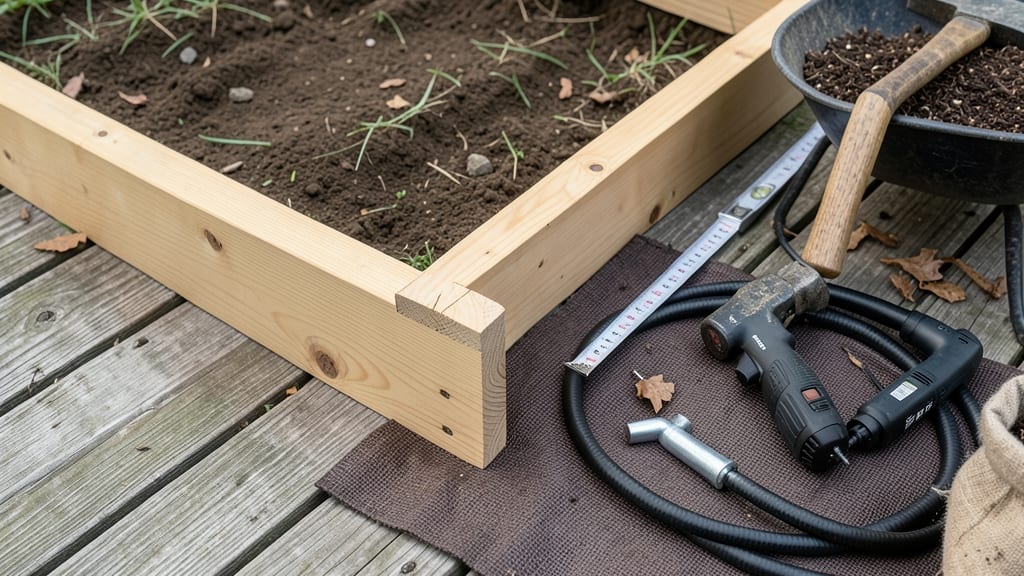
Planning a 2x4 raised garden bed is your fastest route to a high-yield, low-maintenance garden that works with your space—not against it.
Picture this: no more bending over to weed or wrestling with compacted soil. A simple 2x4 frame lifts your plants to waist height, slashes back pain, and lets you grow 🥬 General Vegetables in perfect soil year after year.
Whether you’re a first-timer or a seasoned gardener, these plans make it easier than ever to build one that lasts.
You’ll find free, printable blueprints for every size—from compact 4’x8’ plots to custom lengths—plus step-by-step instructions that break down tricky details like corner joinery and weatherproofing. No more guessing whether your bed will sag or rot; we’ve got you covered with durability tips that keep it standing for years.
Inside, you’ll discover how to cut costs without sacrificing quality, avoid beginner mistakes, and even add smart upgrades like built-in trellises or tiered designs. Ready to grow more with less effort? Let’s build your perfect bed.
Free 2x4 raised garden bed blueprint templates for every size
Building a 2x4 raised garden bed gives you full control over soil quality, drainage, and plant placement—without the back strain of bending over. These printable templates cover the most popular sizes, from compact herb gardens to full-sized veggie plots, all designed for structural integrity and space efficiency.
Whether you're using cedar for natural rot resistance or pine for budget-friendly durability, these plans ensure your garden bed lasts 5+ years with minimal maintenance.
Below are the material lists, cutting diagrams, and assembly instructions for four standard sizes, plus tips for customizing lengths or heights. Each design uses 2x4 lumber for a balance of strength and affordability, with optional upgrades like corner brackets or weatherproofing to extend lifespan.
Pro tip: Pre-drill screws to prevent wood splitting, especially with pressure-treated lumber.
| Size (LxWxH) | Materials (2x4 Lumber) | Corner Joinery | Assembly Time | Best For |
|---|---|---|---|---|
| 4' x 8' x 12" | 12 - 8' boards (cedar/pine), 4 - 4' boards (for ends), 20 - 2.5" deck screws | Notched corners (DIY) or L-brackets (easier) | 2-3 hours | Full vegetable plots, large herbs |
| 3' x 6' x 12" | 8 - 6' boards, 4 - 3' boards, 16 - 2.5" deck screws | L-brackets recommended | 1.5-2 hours | Medium gardens, companion planting |
| 2' x 6' x 12" | 6 - 6' boards, 4 - 2' boards, 12 - 2.5" deck screws | Notched or pocket-hole screws | 1 hour | Herbs, salad greens, small veggies |
| Custom (e.g., 4' x 4') | Adjust board lengths; use 4x4 posts for corners | Corner posts + screws | 1.5-2.5 hours | Square-foot gardening, decorative beds |
For the 4’x8’ raised bed, the most popular size, you’ll need 12 eight-foot 2x4s for the frame (6 for the long sides, 4 for the short ends, and 2 for the middle supports if adding height). Use 3.5-inch deck screws to secure the corners, pre-drilling holes to avoid splitting.
If you’re using cedar, skip the weatherproofing step—its natural oils resist rot. For pine, apply a linseed oil finish every 6 months to extend its lifespan.
My 3’x6’ raised bed is perfect for companion planting, like pairing tomatoes with basil or carrots with onions. This size uses fewer materials (8 six-foot boards) and assembles in under 2 hours.
For extra stability, add 4x4 corner posts buried 12" into the ground. This also works well for container gardening if you add wheels to one side for mobility.
Smaller gardens benefit from the 2’x6’ design, ideal for herbs or salad greens. With only 6 six-foot boards, it’s the most budget-friendly option. Elevate it on cinder blocks or bricks for better drainage and to keep pests out.
This size is also great for balcony gardens if you mount it on a sturdy railing.
Customizing your bed’s dimensions? Start with the 4’x8’ template and adjust the board lengths proportionally. For example, a 4’x4’ square bed uses 8 four-foot boards and adds 4x4 corner posts for extra support. Always leave 12" between boards for soil depth—this ensures roots have room to grow without crowding.
If you’re adding height (e.g., 18" or 24"), use 2x4 stakes every 2 feet along the sides for reinforcement.
Pro tip: Label your lumber before cutting to avoid mix-ups. Use a chalk marker to mark the inside dimensions (e.g., "36" for a 3-foot side) and the board type (e.g., "END").
This saves time when assembling. For cedar, which is pricier but lasts longer, consider using it only for the bottom frame and ends where moisture exposure is highest.
Once assembled, line the bottom with landscape fabric to block weeds and add a 2-3 inch layer of gravel for drainage. Fill with a mix of topsoil, compost, and permaculture soil for optimal plant growth.
Water thoroughly after filling to settle the soil and encourage root penetration. For heavy clay soil areas, add coarse sand to improve drainage.
Download the printable templates below to get started. Each includes a cutting diagram
Step-by-step guide to building a 2x4 raised garden bed
A 2x4 raised garden bed is my go-to project for gardeners who want control over soil quality and drainage without heavy lifting. The 2x4 lumber provides the perfect balance of strength and affordability, making it ideal for beginners and seasoned gardeners alike.
Whether you're growing tomatoes, herbs, or leafy greens, this guide ensures your bed lasts 5+ years with minimal maintenance.
Before diving into construction, gather your tools and materials. You’ll need 8x 2x4 lumber boards (lengths depend on your bed size), 2.5-inch deck screws, a circular saw or miter saw, drill/driver, measuring tape, level, and wood glue.
For durability, opt for cedar or pressure-treated lumber, though cedar resists rot better naturally.
Here’s your step-by-step breakdown to assemble a 4’x8’ raised bed—the most popular size for vegetable gardens. Adjust measurements for custom sizes, but always maintain a minimum 12-inch height for better soil depth and accessibility.
Pro tip: If your bed feels uneven after assembly, check for warped boards or uneven corner cuts. Sand down rough edges and reinforce weak spots with extra screws or brackets.
For long-term durability, elevate the bed off the ground using bricks or pavers to improve airflow and prevent rot.
Troubleshooting common mistakes early saves headaches later. For example, if your bed sags in the middle, add internal cross supports made from 2x4s. If edges