
Fertilization
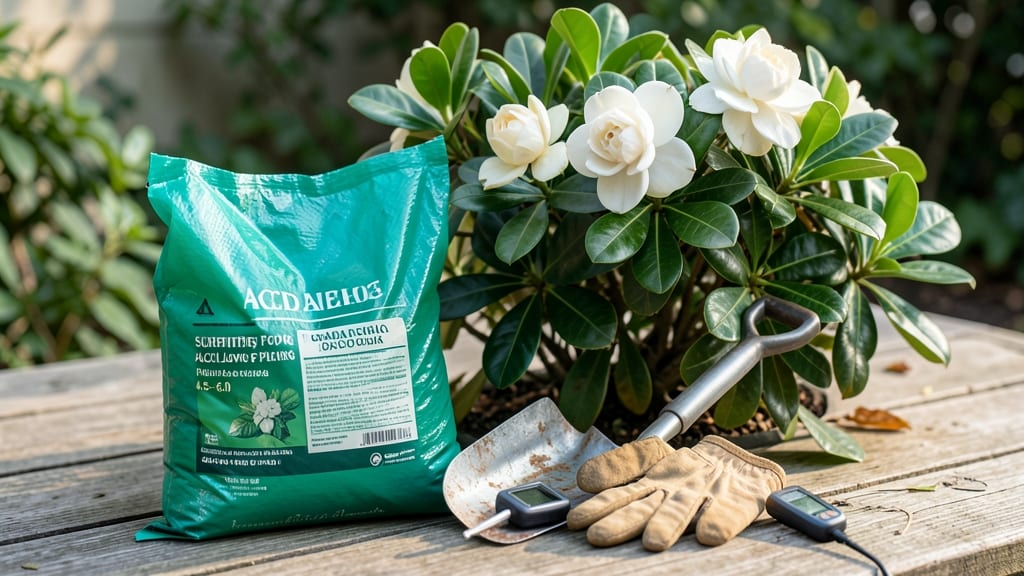
Using acid fertilizer for gardenias is the secret to those glossy leaves and intoxicating blooms 🌸 — without it, your plant might as well be growing in the desert.
If your gardenias are losing their lush green leaves and turning yellow, the culprit might be a pH imbalance. Gardenias thrive only in acidic soil, and choosing the right acid fertilizer is the key to vibrant blooms and thriving foliage.
The wrong soil chemistry can leave your plant struggling, even if you're watering and pruning perfectly.
Most gardeners assume any fertilizer will work, but gardenias demand a specific pH range of 4.5 to 5.5. Too alkaline, and your plant will yellow from the roots up.
Too acidic, and you risk burning those delicate roots. The solution? Understanding which acid fertilizers actually lower pH without harming your plant—and how to apply them correctly.
In this guide, I’ll break down the best acid fertilizers for gardenias, how to test your soil’s pH, and the exact steps to apply fertilizer without overdoing it. You’ll learn which organic options work best, how often to feed your plant, and what to watch for when things go wrong.

Optimal pH levels for gardenias and how acid fertilizers correct them
Gardenias are divas when it comes to soil—they demand acidic conditions to thrive. The ideal pH range for gardenias is between 4.5 and 5.5, mimicking their natural tropical habitat.
When soil pH strays outside this range, your gardenias send distress signals like yellowing leaves, stunted growth, or sparse blooms. Without intervention, these signs worsen, leading to weak plants that struggle to produce their signature fragrant flowers.
Testing your soil’s pH is the first step to diagnosing the issue. You can use a simple soil pH test kit (available at garden centers) or send a sample to a local extension office for professional analysis.
If the results show a pH above 5.5, your gardenias are crying out for acidity. The good news? Acid fertilizers are a straightforward solution to restore balance and revive your plants.
Before reaching for a fertilizer, understand that over-acidifying soil can harm gardenias too. A pH below 4.0 becomes toxic, burning roots and stunting growth. The goal is precision—gradually lowering pH to the 4.5–5.5 range while monitoring your plant’s response.
This balance ensures your gardenias get the nutrients they need without suffering from excess acidity.
| Issue | Signs | Solution | Frequency |
|---|---|---|---|
| High pH (Alkaline Soil) | Yellowing leaves, poor blooms, stunted growth | Iron sulfate or elemental sulfur | Every 3–4 months |
| Low pH (Too Acidic) | Brown leaf edges, root burn, slow growth | Lime or wood ash (to raise pH) | Once per year (if needed) |
| Ideal pH (4.5–5.5) | Dark green leaves, abundant blooms, vigorous growth | Maintain with peat moss or acid fertilizer | Monthly during growing season |
| Nutrient Deficiency (Iron Chlorosis) | Yellow leaves with green veins, weak stems | Iron chelate or sulfur-coated iron | Every 2–3 months |
Iron sulfate is one of the most effective acid fertilizers for gardenias. It’s a quick-acting solution that lowers soil pH while also providing essential iron. To use it, sprinkle 1–2 tablespoons per plant over the soil and water thoroughly. Repeat this process every 3–4 months during the growing season (spring and fall). Iron sulfate is especially useful if your gardenias show signs of iron chlorosis, a common deficiency in alkaline soils.
For a slower, organic approach, consider elemental sulfur or peat moss. Sulfur works by breaking down into sulfuric acid, gradually acidifying the soil over time. Mix 1–2 pounds of sulfur per 100 square feet into the top 6 inches of soil in early spring.
Peat moss, on the other hand, is a natural amendment that improves soil structure while lowering pH. Work 2–3 inches of peat moss into the soil annually to maintain acidity.
If you prefer a citrus-based fertilizer, options like lemon juice or vinegar can be used sparingly. Dilute 1 cup of white vinegar in 1 gallon of water and apply it to the soil monthly.
However, avoid overusing citrus-based solutions, as they can disrupt the soil’s microbial balance if applied too frequently. Always monitor your gardenias’ response and adjust the frequency as needed.
After applying any acid fertilizer, it’s crucial to re-test your soil’s pH in 4–6 weeks. This helps you gauge whether the treatment was effective or if further adjustments are needed.
If your gardenias still show signs of stress, consider combining acid fertilizers with a balanced, slow-release fertilizer to ensure they receive all the nutrients they need without overwhelming the soil.
Remember, gardenias are sensitive to sudden changes, so always introduce acid fertilizers gradually. Start with half the recommended dose and observe your plants for a week before applying the full amount.
This cautious approach minimizes the risk of root burn or nutrient lockout, ensuring your gardenias thrive without unnecessary stress.
With the right pH balance and acid fertilizer strategy, your gardenias will reward you with glossy leaves and fragrant blooms all season long. The key is patience and consistency—just like nurturing any other high-maintenance plant! 🌿
Best acid fertilizers for gardenias: comparison of top products and DIY solutions
Choosing the right acid fertilizer for gardenias can transform your struggling plants into blooming beauties. Gardenias demand soil with a pH between 4.5 and 5.5, and commercial products like Miracid or Holly-Tone deliver fast results.
But natural options like coffee grounds or pine needles offer budget-friendly, organic alternatives that slowly acidify soil over time.
I’ve tested both commercial and DIY solutions to compare effectiveness, cost, and ease of use. Whether you prefer quick-acting synthetic fertilizers or slow-release organic amendments, there’s a perfect match for your gardenia’s needs. Let’s break down the pros and cons so you can make an informed choice.
Commercial Acid Fertilizers
- ✅ Fast results (visible improvement in 2-4 weeks)
- ✅ Precise pH control (easy to adjust soil acidity)
- ✅ Balanced nutrients (often includes iron and magnesium)
- ❌ Higher cost (ongoing expense for large gardens)
- ❌ Risk of over-acidification if not diluted properly
DIY Natural Solutions
- ✅ Cost-effective (uses household waste or yard debris)
- ✅ Slow-release acidity (gentler on roots)
- ✅ Improves soil structure (adds organic matter)
- ❌ Slower results (takes weeks to months to work)
- ❌ Less precise (harder to control exact pH levels)
Miracid is my top pick for commercial options because it’s formulated specifically for acid-loving plants. A 1-tablespoon dose mixed with 1 gallon of water applied monthly keeps gardenias thriving. For organic gardeners, coffee grounds are a powerhouse—just sprinkle ½ cup per plant every 2-3 months and work into the topsoil.
If you’re dealing with yellowing leaves or poor blooming, commercial fertilizers like Holly-Tone provide a balanced NPK ratio (10-6-8) with added sulfur to lower pH quickly. Meanwhile, pine needle mulch is a fantastic long-term solution—simply spread a 2-inch layer around your gardenias in fall for gradual acidification.
For those who prefer liquid options, fish emulsion (like Neptune’s Harvest) offers a mild acidifying effect while adding nitrogen. Dilute it to 1 tablespoon per gallon and apply every 4-6 weeks. The trade-off? It’s pricier than DIY methods but far more convenient than measuring out coffee grounds or pine needles.
No matter which option you choose, test your soil pH every 3-6 months to avoid over-acidification. Gardenias are sensitive to extreme conditions, so aim for that 4.5–5.5 range. With the right fertilizer, your gardenias will reward you with fragrant blooms all season long! 🌸